I am so excited to announce that I've been invited to be on the Robin's Nest design team!!
Make sure to check out their blog where I will be posting projects regularly, along with a group of really talented designers. I'm sure you will find inspiration from everyone there!
Check out their website for some amazing products.
Blog:
http://chatteringrobins.blogspot.com/
Website: http://www.robinsnest-scrap.com/
I'm so excited so make sure to follow their blog and check out all of the projects we'll be posting!
Make today count ~
Wendy
Sunday, June 24, 2012


Tuesday, June 19, 2012
Best Hubby Ever! Library Card Catalog
Look what my husband found for me yesterday and bought while I was at work!?! He told me to go to the consignment store and pick it up after work. When I asked for it all the ladies who work there came over saying "you must be the scrapbooker" lol. They told me that 3 people had already come back in looking for it. SCORE!


Isn't it fab? I know right?! I'm so excited... Now I just have to find a place to out it (besides the middle of the hallway).
Make today count ~
Wendy


Isn't it fab? I know right?! I'm so excited... Now I just have to find a place to out it (besides the middle of the hallway).
Make today count ~
Wendy
Tuesday, June 12, 2012
Travel Junk Journal Scrapbook (for Road Trip)
This is a travel junk journal I created for a class I taught at Timeless Treasures (in Rancho Santa Margarita). The class was fun and everyone seemed to really like their finished journal. The journal is a vintage style with lots of odds and ends to memorialize any road trip or vacation. Just inside the front cover we included a map of the US to mark off the states as you travel through them. There are a ton of pockets, file folders, and different pages to include any type of memorabilia, journaling and photos during your trip. The sections are divided with tabs such as "where we stayed, things we saw, things we ate, where we went, people we met, places we stopped, random thoughts," etc. I created several tags and didn’t even use them all. I will be posting photos of the inside shortly, but wanted to give a glimpse of it for now.


I will also be posting pictures of the Junk Journal I made for my own family to take on our next road trip - that one is kind of a junk journal on steroids. I have been fighting with what type of binding method to use because even my two in binding rings were not big enough! I settled on leather cording and that will have to do. I can’t wait to show it off - I put so much into it.
At my 8 year old’s suggestion after watching the movie "Judy Moody’s Not So Bummer Summer," we have included a "Cuskey Family Not-a-Bummer-Road-Trip Thrill Point Chart" in our journal (this includes things to do (or not do) along the way and when we get to our destination and it awards points for items marked off, bonus points for extra credit (lol) and loser points for hitches in the road, so to speak. It should be a blast! Below is a jpg image of the one I created (I can't figure out how to upload a pdf on blogger - need to research that) that you might use as a sample if you are so inclined. If you have wordperfect and want a copy you can modify, message me and I will email you the file. I could always save it as a word doc from my wordperfect, but I don’t think the table would stay in tact . . . not sure.
 No matter what you intend to do this summer, bring along some type of journal (even if you don’t have the time or inclination to make one) and make sure to memorialize the time with your family!
~ Make it Count
Wendy


At my 8 year old’s suggestion after watching the movie "Judy Moody’s Not So Bummer Summer," we have included a "Cuskey Family Not-a-Bummer-Road-Trip Thrill Point Chart" in our journal (this includes things to do (or not do) along the way and when we get to our destination and it awards points for items marked off, bonus points for extra credit (lol) and loser points for hitches in the road, so to speak. It should be a blast! Below is a jpg image of the one I created (I can't figure out how to upload a pdf on blogger - need to research that) that you might use as a sample if you are so inclined. If you have wordperfect and want a copy you can modify, message me and I will email you the file. I could always save it as a word doc from my wordperfect, but I don’t think the table would stay in tact . . . not sure.

~ Make it Count
Wendy
Wednesday, June 6, 2012
Mother's Day Pocket Mini Albums - Part 2 of My Robin's Nest DT Submission
The below is for my design team submission with The Robin's Nest - Check out their Website and Blog:
Blog: http://chatteringrobins.blogspot.com/
Website: http://www.robinsnest-scrap.com/

For Mother's Day I made pocket mini albums for both my Mom and my Mother-in-law. I got the idea from Angelwings14100 on YouTube. She has a fab tutorial you can view here http://www.youtube.com/watch?v=ugtOo9QSalo&list=FLipu2K09pXKN1KZpXxPYbpQ&index=20&feature=plpp_video. If you like these minis, be sure to check out the tutorial (she gives dimensions and everything!).
Here is a picture of both minis together:


 Of course the girls pages were way more fun to do!


On the inside back cover, I used a doily die to cut patterned paper from the collection to make a tag for a photo.


I hope you all enjoyed my Mother's Day Pocket Mini Albums!! Please message me with any questions and thanks again for looking!
~ Make it Count
Wendy
Blog: http://chatteringrobins.blogspot.com/
Website: http://www.robinsnest-scrap.com/
For Mother's Day I made pocket mini albums for both my Mom and my Mother-in-law. I got the idea from Angelwings14100 on YouTube. She has a fab tutorial you can view here http://www.youtube.com/watch?v=ugtOo9QSalo&list=FLipu2K09pXKN1KZpXxPYbpQ&index=20&feature=plpp_video. If you like these minis, be sure to check out the tutorial (she gives dimensions and everything!).
Here is a picture of both minis together:

The one on the left is done with "Birdsong" paper by First Edition (picture below) and the second one is done with Basic Grey "Out of Print" (picture below). I love both of these papers (and the Birdsong has glitter paper which I absolutely love, love, love!!).
The books are pretty much the same construction with the one on the left done with an extra large eyelet the way Angelwings 14100 did hers, but the second one I used the Tim Holtz Sizzix die Findings to create a magnetic closure. I layered it (two layers of black cardstock with grunge paper in between). On the fronts I have stick pins I made myself along with flowers I painted, inked and/or misted (some all - lol). The metal book corners are made from plumbers tape (see my prior tutorial on that).
Here are the two paper lines I used:


Here are some more pictures of the Out of Print mini:

The inside covers have pockets, so on the left is a small tag for journaling or other pictures. Then I started with the eldest grandchild and worked my way down. For each child, I put their picture on the front of the pocket page and had them write a sentiment (or the young ones drew pictures and dictated their sentiment) on the tag inside the pocket. The back side of the page was left for grandma to put her favorite picture of that child.


On the inside back cover, I used a doily die to cut patterned paper from the collection to make a tag for a photo.

Back cover:
Close -up of the front:


I hope you all enjoyed my Mother's Day Pocket Mini Albums!! Please message me with any questions and thanks again for looking!
~ Make it Count
Wendy
Tuesday, May 22, 2012
Finished Faux Bronze Patina Box
Okay, when I got to the end of my post yesterday I realized that I moved the pieces around just a bit and added some torn distressed drywall tape to look like fishing net before I glued it all down. Soooo, here is the real finished version. Thanks for looking!

Wendy

This picture was taken with my phone instead of my new camera, but I think it still shows off how cool this turned out! Thanks again for looking and for the kind comments and messages I've been receiving!
~ Make it CountWendy
Monday, May 21, 2012
Faux Bronze Patina Box with Mermaid - Robin's Nest DT Submission
I know I posted this previously, but I am re-posting as part one to my Robin's Nest Design Team
submission. Check out their Website and Blog:
Blog: http://chatteringrobins.blogspot.com/
Website: http://www.robinsnest-scrap.com/
Part 2 coming soon!

So, my 22nd wedding anniversary was this last weekend and I wanted to make something unique for my husband. I occurred to me that I still hadn't tried the Amazing Mold Putty I bought at CHA soooooo.... Here's what I came up with.


Ooops! I just realized that after I finished I thought it needed one more thing. I did the same paint technique on some drywall tape and added some torn pieces of it underneath and sticking out to look like fishing net. I will post an updated picture of that (I have to take it back and take another picture - lol).
submission. Check out their Website and Blog:
Blog: http://chatteringrobins.blogspot.com/
Website: http://www.robinsnest-scrap.com/
Part 2 coming soon!
So, my 22nd wedding anniversary was this last weekend and I wanted to make something unique for my husband. I occurred to me that I still hadn't tried the Amazing Mold Putty I bought at CHA soooooo.... Here's what I came up with.

Because we live near the beach, we tend to have a lot of ocean/beach type decor in and outside of our home. I had this wooden box with four coasters in it and thought I would create something for my husband's bamboo bar. And, since he likes mermaids, I thought this would be a fun addition. I created the mermaid, the dolphin brooch and the broken sand dollar type flower by making molds and casting resin. Below are some step-by-step pictures along with some instructions on how I achieved the patina on this piece. Please feel free to message with any questions.
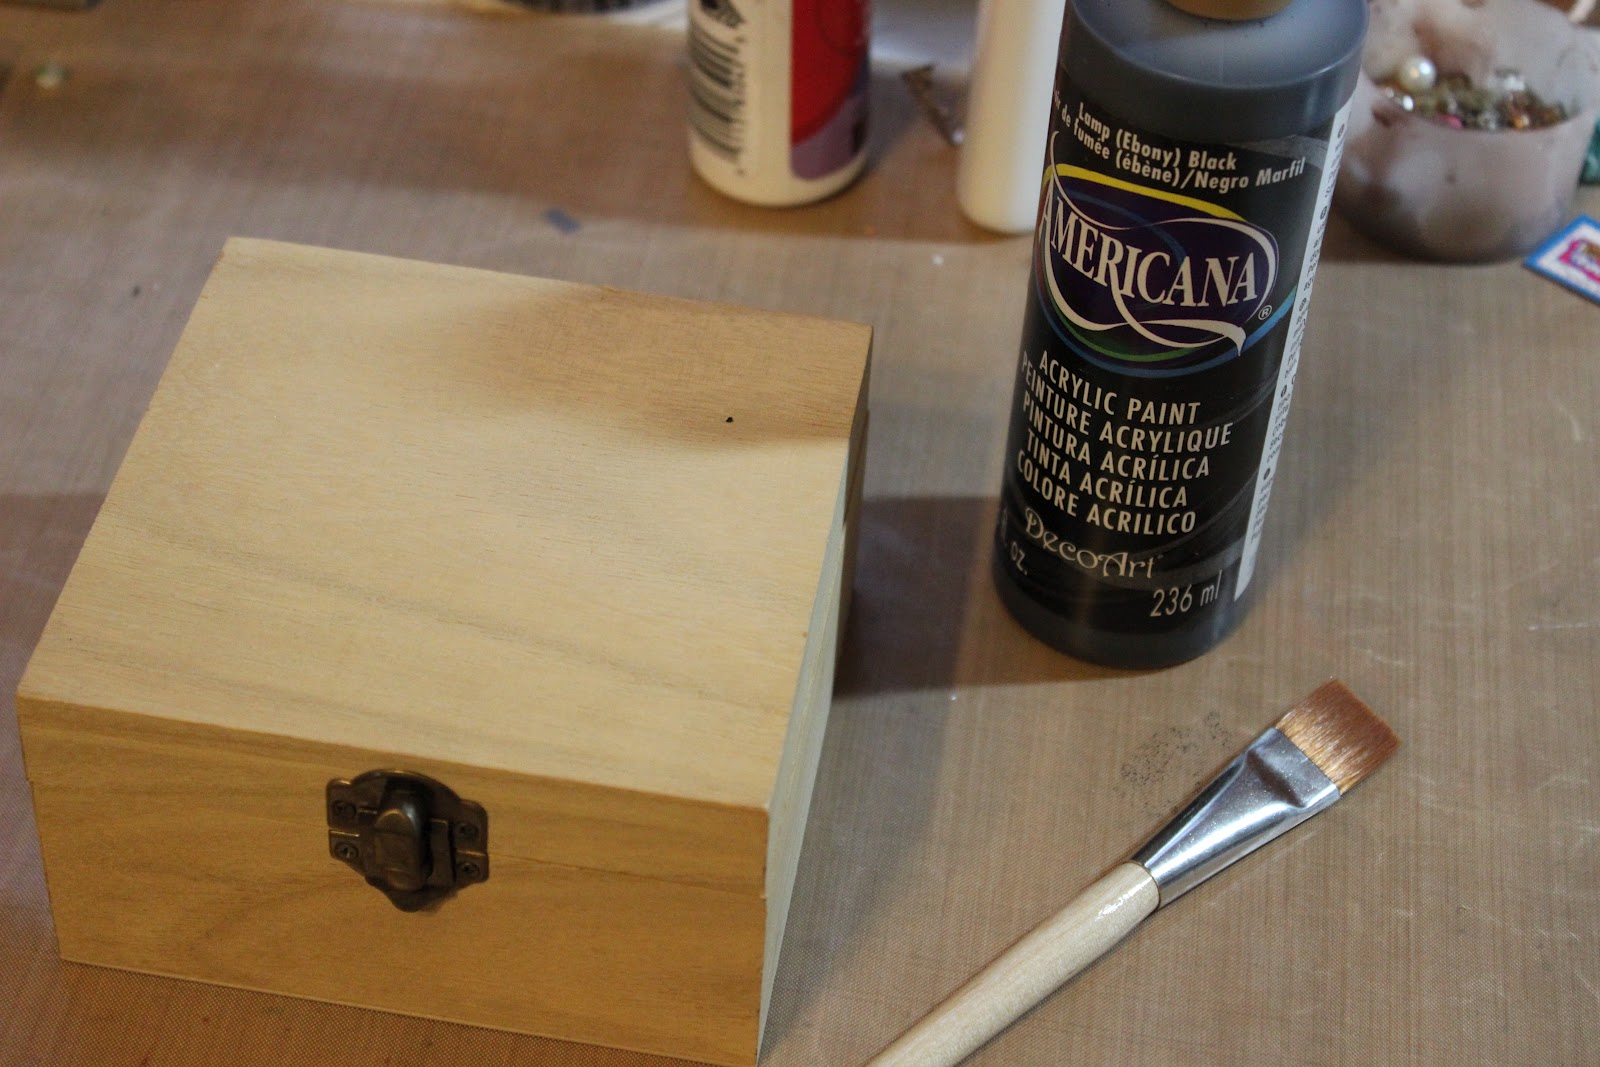
I started with this simple wooden box and three shapes I wanted to cast for the top.
After mixing the Amazing Mold Putty in equal parts (like playdoh - really easy) I pressed in my shapes (or in the case of the mermaid I molded the putty around the mermaid). I let sit about 10 minutes and voila . . . molds! It really is fun to create a mold and know you can make the item over and over again. The possibilities with making my own scrapbooking embellishments are mind-boggling!

Once I had the molds, I tried my hand at the resin. I did the mermaid first to make sure I mixed enough. Next I poured the brooch. I think I took too long making sure I got all of the edges of the brooch covered because when I went to pour the metal flower it was kind of gooey and chunky . . . but guess what? I used it anyway and loooove the way it came out; it's kind of organic looking (sort of like a broken sand dollar I think). So here are my three pieces.

I painted everything with a coat of black acrylic paint (including the wood pieces) and then everything again with some orange/coppery paint (just dry brushed here and there).


After the orange I dry brushed some dark teal green on everything.

Then a coat of sea foam (watered down a bit so as not to be so opaque) on everything.


I finished it off with some gold rub on the edges and raised areas of all pieces. I placed them where I wanted them and then then glued them on all with some E6000 glue.
I hope you try something like this yourself. You will be amazed at what you can do!


Ooops! I just realized that after I finished I thought it needed one more thing. I did the same paint technique on some drywall tape and added some torn pieces of it underneath and sticking out to look like fishing net. I will post an updated picture of that (I have to take it back and take another picture - lol).
Have a great day all.
~ Make it Count
Wendy
Wednesday, May 9, 2012
Arrow Sample for Cub Scouts
This post is a follow-up on our Cub Scout arrow project, for the boys who couldn't make it and are just putting kit together on their own.
The pictures I had on my phone did not have the added coup feather at the end, so I cut all of the boys out of a picture (last pic) so you can see where it's attached. Below are some basic written instructions to go with the picture. You will need black electrical tape (or whatever color you want to use); it is not included in the kit.
I fitted each arrowhead to the arrow it is with. If it feels too snug, don't force it (I soaked all of the arrow tips in water for a couple of hours so they would be more pliable - try soaking it if necessary). Holding the arrow upright between your knees you can fit the arrowhead and secure it with electrical tape (see photo below). If you want to set in with hot glue first you can, but we didn't do that at the meeting.


The add-on coup (coo) feather is pre-made and needs to be secured by tying it just below the fletchings. This is that really bad phone picture I mentioned, from which I cropped all of the boys and enlarged the feather - so don't critique the photo, just use it for your sample! lol. If I remember later I will replace it with a better photo, but in case you are already working on it, I wanted to have instructions ready.
 Have Fun!
Wendy
The pictures I had on my phone did not have the added coup feather at the end, so I cut all of the boys out of a picture (last pic) so you can see where it's attached. Below are some basic written instructions to go with the picture. You will need black electrical tape (or whatever color you want to use); it is not included in the kit.
I fitted each arrowhead to the arrow it is with. If it feels too snug, don't force it (I soaked all of the arrow tips in water for a couple of hours so they would be more pliable - try soaking it if necessary). Holding the arrow upright between your knees you can fit the arrowhead and secure it with electrical tape (see photo below). If you want to set in with hot glue first you can, but we didn't do that at the meeting.

Next, turn the arrow over and work on the back end. The feathers (fletchings) are trimmed so that there is a thin piece of the feather vein with no feather on each end. Line those up on the arrow and secure them with more electrical tape (see photo below) (you can cover the tape with leather cord if you choose but we did not do this at the den meeting).

My faux snakeskin that I thought I was soooooo brilliant creating (can you hear my sarcasm?), turned a bit brittle and flaky so that when the boys wrapped it the color started flaking off. My suggestion is (if you don't have a heat embossing tool) to cover it in a thick layer of Elmer's glue and let it dry to make it pliable (hopefully) before using it. It is metal plumbers tape and can be applied by removing the backing and wrapping the middle of the arrow shaft. We finished the edges with electrical tape.
If you do, indeed, have a heat embossing tool just run it over the top to heat it up a bit to reconstitute it to make it pliable again. Make sure you use it as soon as it starts to cool. I made my sample right after cooling at it hasn't flaked at all.

The add-on coup (coo) feather is pre-made and needs to be secured by tying it just below the fletchings. This is that really bad phone picture I mentioned, from which I cropped all of the boys and enlarged the feather - so don't critique the photo, just use it for your sample! lol. If I remember later I will replace it with a better photo, but in case you are already working on it, I wanted to have instructions ready.

Wendy
Subscribe to:
Posts (Atom)