Thursday, January 31, 2013

Little Green Men ~ AMP Design Team Post

Okay, so not exactly the little green men you were thinking . . .


My son, who is a lego fiend (we have lego creations on every flat surface in our home - no really, EVERY flat surface) not to mention the tubs and tubs of miscellaneous lego pieces we have lying around.

When my son decided he needed to amass an "army of lego dudes" what else could I do but break out the Amazing Mold Putty and go to work?! Any of you with children in this age group know the cost of these mini figures. Well I knew I couldn't buy him an army of them . . . but I could make them.

So here's what I did:
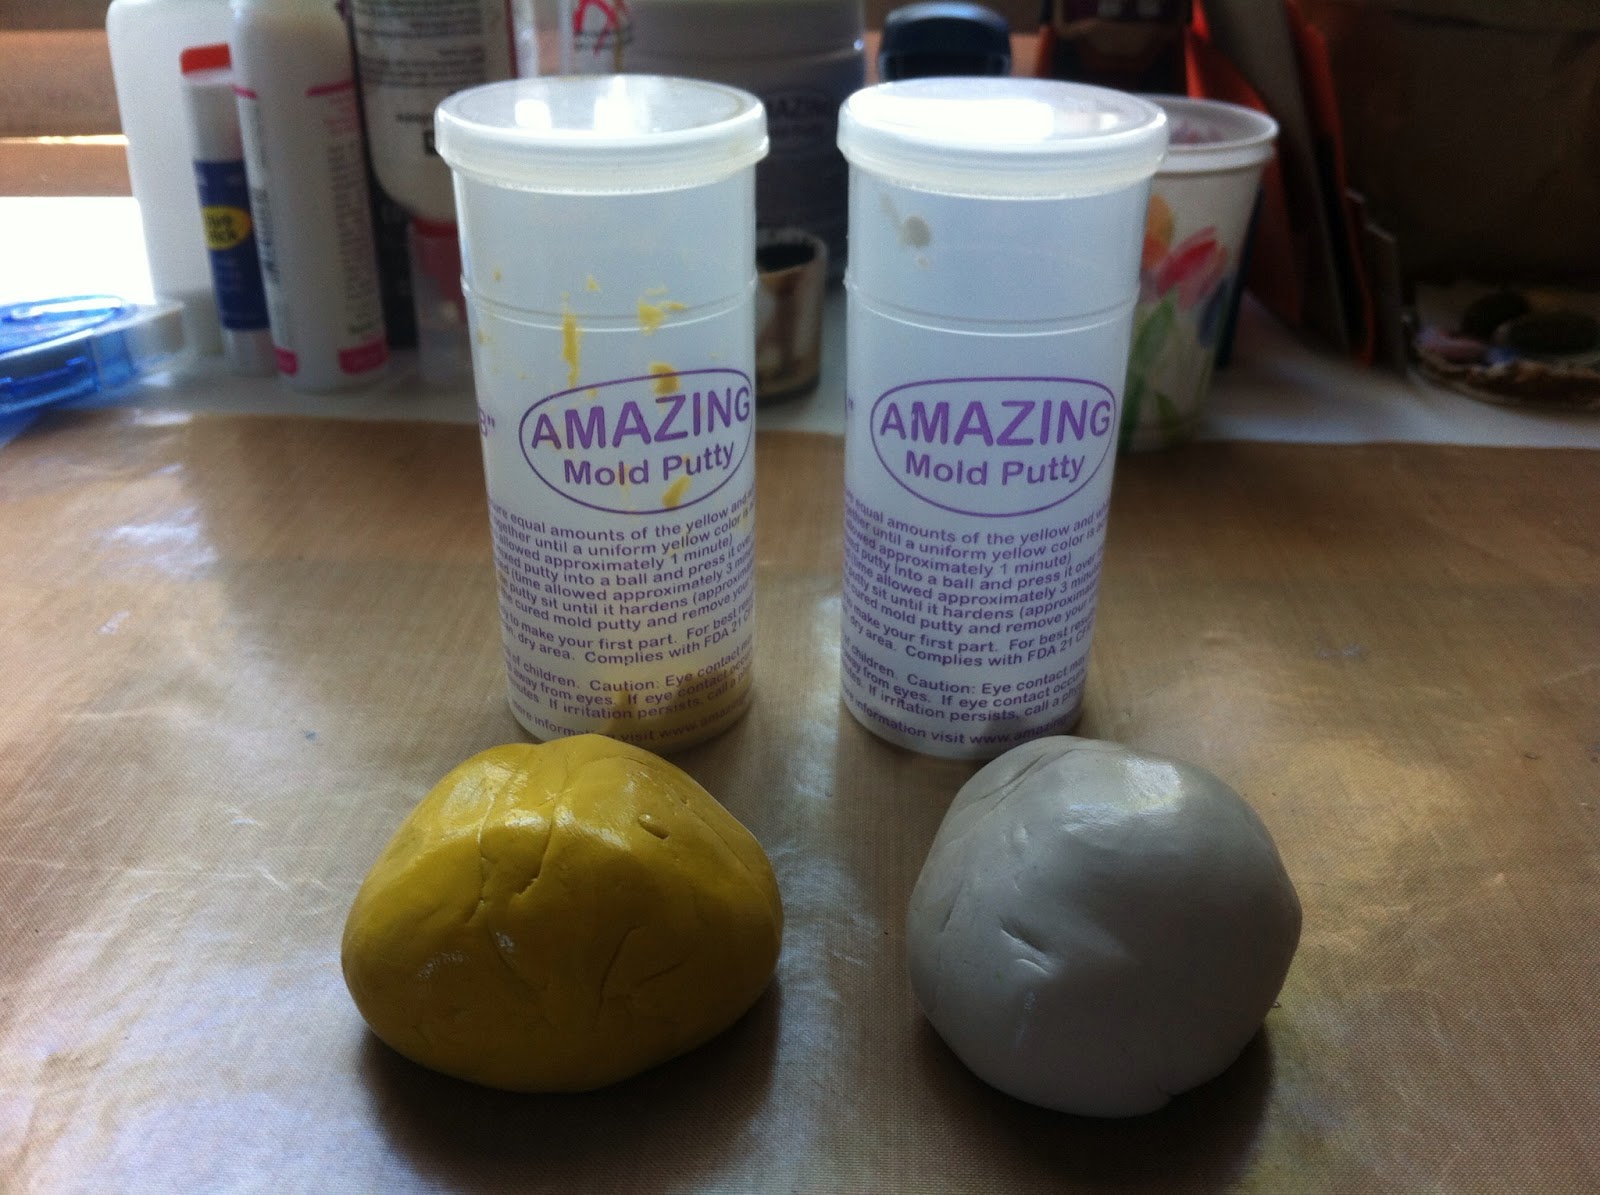

I mixed my Amazing Mold Putty using a 1:1 ratio of "A" and "B" (click on the link at the end of this post to go to their website for a tutorial). I made a mold of a mini figure and his hat (separately).

The mini figure I did like I would any of my other molds, but the hat was a little more difficult. I put the hat in one-half of the putty I mixed for it and then stuffed it with the other one-half. I made pen marks on each of the mold halves so that I would be able to line them back up when I went to pour my resin. I then mixed my Amazing Casting Resin (use the link above for detailed instructions) - equal parts A and B. As soon as parts A and B are thoroughly mixed you can begin pouring into your mold (It will turn an opaque milky white when it is completely hardened unless you are using clear). I poured enough so that it seeped out slightly but did not completely overflow (this seemed to be the best way to do it - after a few tries).

\
Above is a look at the soldier "dude" before I sanded him and painted him and below is a look after I sanded him and then after I painted him.
Here is one showing his hat in a little more detail:
This was the first one I made. They got better as I went. The one on the package was a fun way to accent a gift for a friend's birthday. No matter how many times I say it, I can't emphasize enough how versatile this product is and how much fun you can have using it! I made a bunch of mini figures and left them unpainted so I can choose how I want to paint them for a specific party gift. And . . . my son loves his army!


Thanks for checking out my project! The Amazing Mold Putty and Casting Resin can be found at your local craft store or the Amazing Mold Putty website . . . check out all of their products. Be sure to comment and ask questions if you have any.

~ Make Today Count

Wendy
www.scrappinwendysway.blogspot.com

Saturday, January 12, 2013

Mark Montano, His New Book and the New E6000 Spray

So, at the E6000 booth I got to try out the new E6000 spray adhesive that will be out in April. Even if it wasn't no odor, it would be fab just because the pump spray doesn't have near the overspray that the larger aerosol version of adhesive spray has and it has the same E6000 bond!

But even better than that I got to meet Mark Montano and got an autographed copy of his new book "The Big Ass Book of Bling." What a nice guy! Below is a picture (sorry Mark, I was too lazy to photoshop out my wrinkles or your shiny forehead - Maybe you won't remember that I promised eh?). The really funny part was when I got the new book home. In the few minutes it took me to change into my PJs, my 8 year old decided he needed to alter my new book . . . um here it is . . .


Me and Mark . . .


Autographed page (so sweet) I''m sure he wrote the same thing for everyone, but he was truly gracious . . . Thanks Mark!


~ Make Today Count
Wendy

CHA Today

What a fabulous day at CHA! I got to do so many fun make-n-takes, see fab new products and and meet a ton of wonderful crafters! I met my friend Terri Sproul face to face for the first time, I met Mark Montano and tried out the new E6000 spray (see my next post for that info), I met Leeza Gibbons (what a wonderful and sweet lady . . . and her new hubby is so sweet as well), I saw Tim Holtz again, and met a friend of a friend, Christine Adolf of Splash of Color (formerly Creative Imaginations) and put together a sizzix teacup with Brenda Walton who is also as sweet as they come. And to top it all off, I gopt to stop by the AMP booth and see my samples and guess what? They had flyers that included me . . . my picture, a sample of my work and my bio!! Can you believe it? All in all a fab day. Tomorrow I will concentrate more on taking pictures of the fun demos, but here are some pics from today.

The AMP booth:


Me and Leeza:


Tim Holtz Booth. . .


Well I'm totally tired out so I will do one more post and then off to bed and back to CHA tomorrow. Goodnight all.

~ Make Today Count
Wendy

Tuesday, January 8, 2013

All You Need is Love Card Kit Mini Album DT Post for Robin's Nest

This month we are highlighting the Robin's Nest Card Kits and Tag Kits which are 20% off (yay!). Just use the promo code: cardkitpromo when placing an order. Because I am on the layout team and not so much a card maker, I challenged myself to use the card kit (the whole thing) to create something fun and . . . not a card - lol. Here's what I came up with; what do you think? I just want to show you how much you can do with a card kit. Don't limit yourself!


I started with the Roses Card Kit which you can find here. I also used the following items:
Wedding Tag Kit (a few items)
Flame Dew Drops (red ones)
Flame Clippies (the king of hearts)
Heartfelt Creations Posey Patch Flowers Stamp and Die Set

So, other than those items I used some bits and pieces of embellishments and scraps of black cardstock . . . that's it!

I started by attaching the envelopes that come with the card kit in a W or mountain formation. I had an envelope flap left over, so I sandwiched it between two of the cards from the kit to create a front cover for my mini and then adhered the third card to the last envelope to create a back cover:


Then I pulled out the pieces of my card kit and turned it into a mini album. I created the front flower using the Heartfelt Creations stamp and die set (what a fun idea - you stamp first and then cut out the stamped images with a die - no fussy cutting!). Here are some pictures of that process:


Here are some pictures of the finished product:


Leave me a comment and let me know what you think. Don't forget to check out The Robin's Nest website and pick-up your card kits and tag kits this month while they are on sale!

Monday, December 31, 2012

Altered Altoids Tin ~ Amazing Mold Putty DT Project


This was my first try at an altered Altoids Tin, so don't mock it too badly - lol. I really like how it came out!

The tin itself was not difficult and there are a lot of tutorials out there (just google) so I won't go into that other than to say - don't cover it all with paper until you research - I did and mine wouldn't close so I had to make a loop closure for it.

In looking at samples others had created, I noted quite a few with frames on the front. And, since eventually, I would like to make a class out of this (once I get it right), I knew I needed more than one of whatever I chose to use on top! So, I chose some frames that I purchased in a kit a couple of years ago at a warehouse store. I know that I can't possibly find them again, so I had to be able to make more. And . . . in steps my Amazing Mold Putty:

I mixed my Amazing Mold Putty using a 1:1 ratio of "A" and "B" (click on the link at the end of this post to go to their website for a tutorial).


Next I made a mold of each of my frames and then mixed my Casting Resin (use the link above for detailed instructions) - equal parts A and B. As soon as parts A and B are thoroughly mixed you can begin pouring into your mold (It will turn an opaque milky white when it is completely hardened unless you are using clear or unless you added some dye to it like I did! I mixed one drop of the African American dye (Alumilite Dyes ) to side "A" before mixing the resin. Check out my step-by-step pictures below. You can see that the frames have a bit of color even before I play with them.


I chose the very last frame in the bottom right pictures to use for my tin. I then painted it black (I only needed on coat because it was not the white resin). After it dried I rubbed a bit of silver on it and it was ready to adhere to my altered tin. If you look closely, you can see a key I made and showed in an earlier blog post. . . couldn't alter the tin with just one molded item!


I really like the way it turned out. Next time I think I will go back and dry brush a bit of the black back on it to "dirty" it up a bit (like the key). Let me know what you think.


Thanks for checking out my project! The Amazing Mold Putty and Casting Resin are so easy to use and as I've said in the past, you really can recreate any embellishment you want to use more than once. Head over to the Amazing Mold Putty website and check out all of their products. Be sure to comment and ask questions if you have any.


~ Make Today Count


Wendy


Saturday, December 15, 2012

Tis the Season ~ Robin's Nest DT Post


On one of my last posts I said I had planned to make a card from scraps but decided I wanted different paper.  Well . . . this time I'm actually going to do it!  I used my scraps from the Home for the Holidays blog hop and created this card.  I used Robin's Nest Christmas Glitter Swirl (which I believe is not available, but a comparable paper that is just as pretty and the same weight is the Red Glitter Swirl), and Christmas Glitter Words (back side) scraps to create this card.  The Christmas Glitter Words is one of those papers that I love because of the texture.  The feel of this paper is so rich, similar to the linen feel paper I used on my "Give Thanks" card.

Having these scraps made the card so easy to make.  I simply used a stamped image (and as you can see, I don't have many Christmas stamps so I just altered a palm tree stamp - I mean we are in South Orange County and it was sunny and lovely today, so it fits!) and after coloring it with distress inks and water brushes I adhered it to my Glitter Swirl paper and then to a piece of white cardstock and then onto my card base which is the Christmas Glitter Words (link above).  I love this because it has a masculine look to it.  So don't throw those scraps away . . . use them!


If you click on the picture below you can get a close-up view of the texture of the card base paper.

 
Thanks for stopping by to check out my card.  Hop on over to The Robin's Nest website and check out their papers and other fab products!

~ Make today count

Wendy


Wednesday, December 12, 2012

Christmas in Aliso

I have to post a picture of the tree - my boys pretty much did it themselves this year!


Make today count ~
Wendy