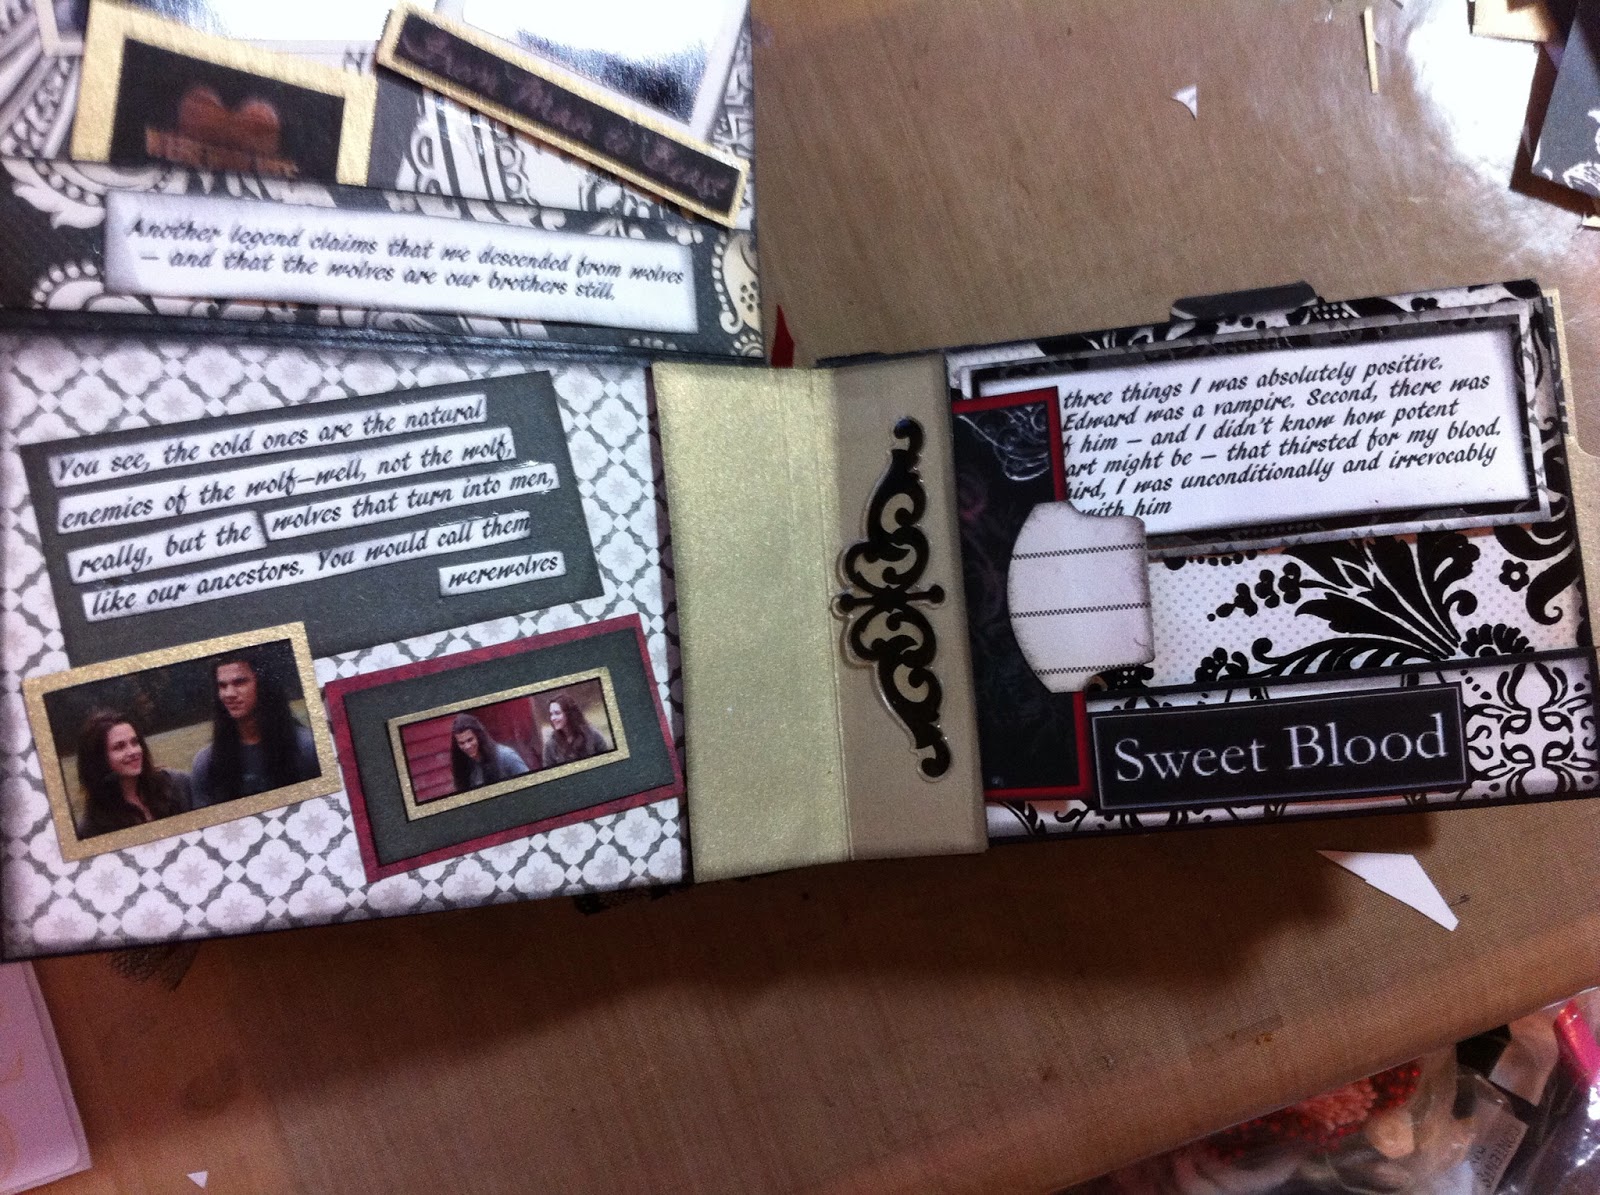
I enjoyed the books and tolerated the movies (but because I enjoyed the books I bought the movies - lol). Anywhooo, I decided to make a Twilight mini album for a teenage friend for Christmas. One of the things I needed was a big chunky Team Jacob embellishment. So I decided to make both!
So here's what I love about this project, not only did I get to use the Amazing Mold Putty and Amazing Casting Resin I use on all of my projects, but I also tried out the
Alumilite Metallic Powders and the
Alumilite Dyes. And then to finish it off I used my
Amazing Clear Cast for the first time ever (and love it!).
So, of course, I started with the
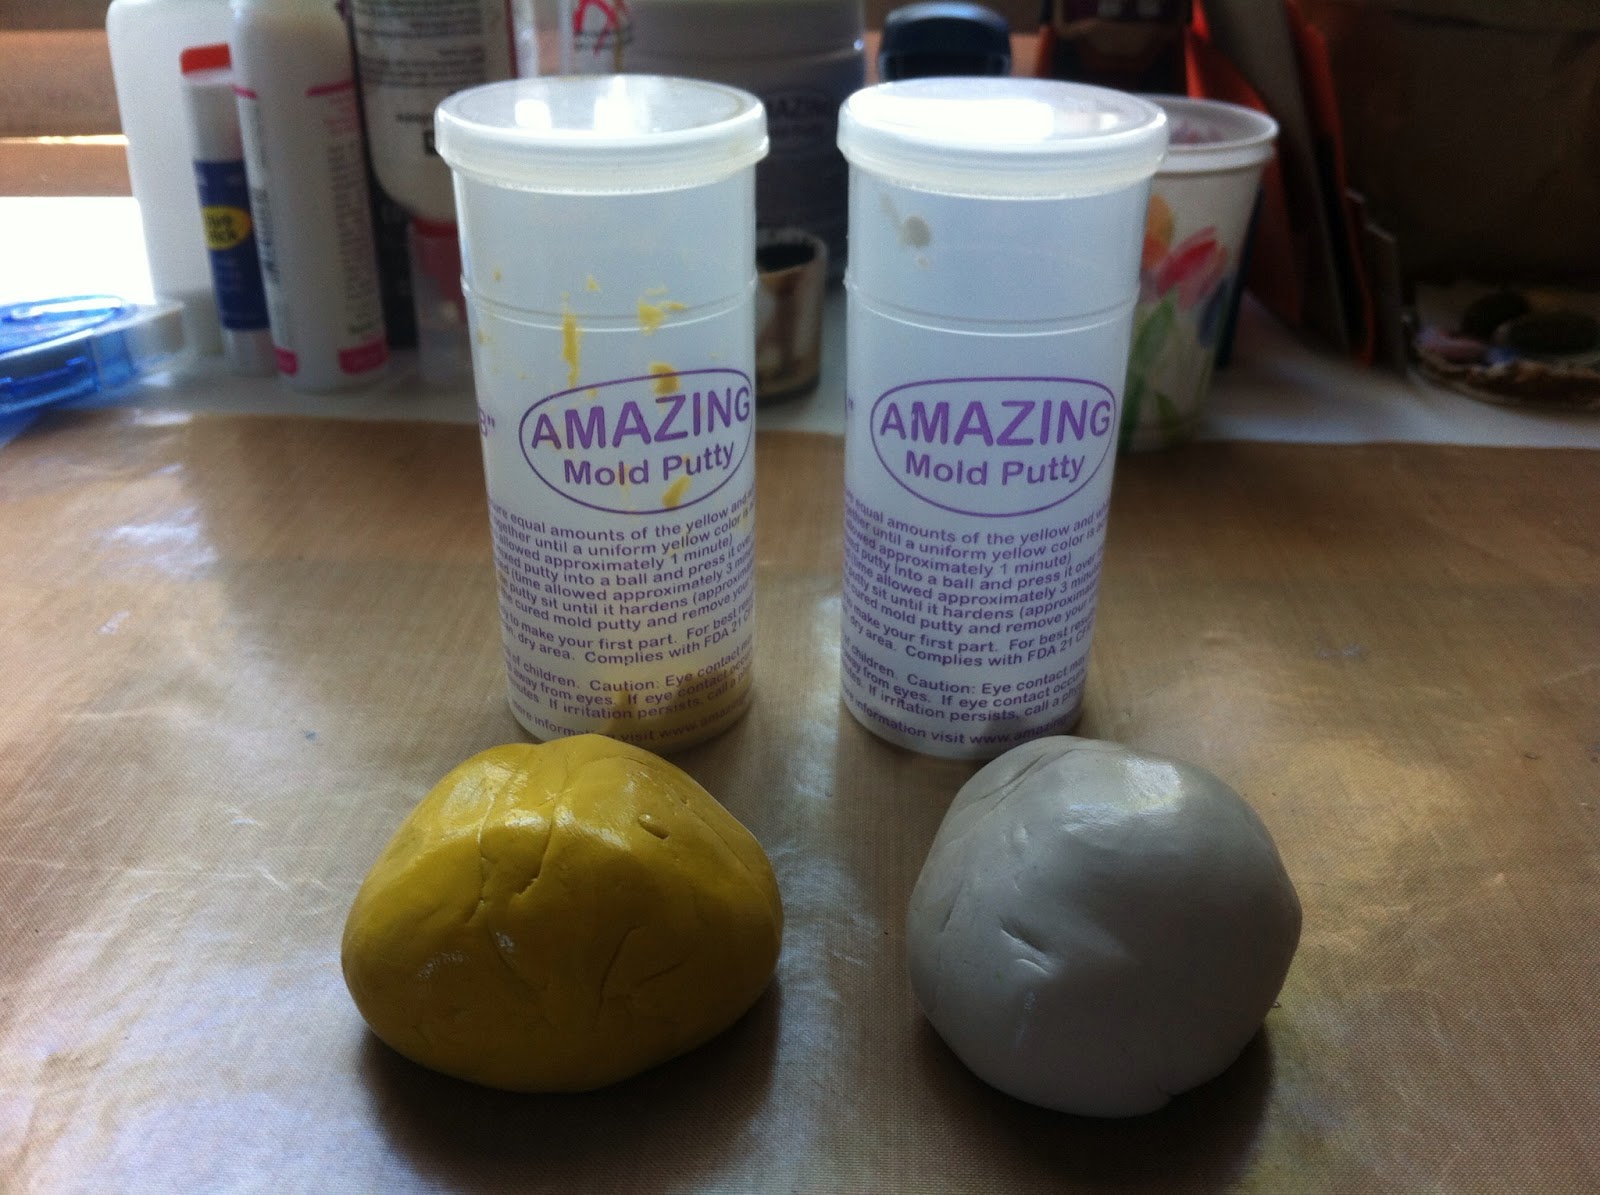
Amazing Mold Putty mixing a 1:1 ratio of "A" and "B" (click on the link at the end of this post and go to their website for a tutorial).
This was the item I chose to mold.
After I made my mold, my experimenting began . . . I decided to try the metallic powder (link above). I brushed the inside of my mold liberally with the powder on a paintbrush (and when I say "liberally" I mean I brushed the inside of the container - I didn't even have to dip the brush into the powder . . . this stuff goes a loooong way)
Next I poured the Amazing Casting Resin (link above) and waited for it to set.
Once the resin had turned completely white, I removed it from the mold and . . . VOILA! My piece came out with a metallic finish hard set in . . .no worrying about the color coming off or what product to use on the surface, etc.
The next one I did I decided to go a little more crazy. I mixed a couple of drops (and I mean just drops) of the African American dye and then added a little of the metallic powder to side "A" before mixing the resin. This is what it looked like:
I love that the piece has a solid color and I don't have to doctor the back at all. Once I get the desired look on the front, the back still has that brown and slightly metallic look and I can just leave it alone.
Now when I say "desired look" you know I didn't just leave these pieces the way they were . . . nooooooo, I had to paint, daub, brush and rub to get them the way I wanted them. You can see that I brushed them with black paint and then wiped it off so the black stayed in the low, indented or debossed areas. Then on one of them I used some antique gold rub to finish it off.
Once I had the frame portion complete, I glued in some pictures and THEN . . . I tried out the Amazing Clear Cast (link above) to seal the picture and create a glass look. And look how "Amazing" it really is.
So here is another look at my finished project:
What do you think? Don't forget to check out the
Amazing Mold Putty website for these and more Amazing products.
~ Make Today Count
Wendy