Showing posts with label embellishment. Show all posts

Friday, November 30, 2012

My Little Cowboy ~ AMP DT Project

Our road trip this summer took us to South Dakota where we visited Deadwood.  That was July and I am still finishing up our journal/scrapbook of that trip. This is one of the pages I wanted to make some charms to go on the page but the only ones I had were silver, plus, with all the cowboy pictures I have of my son, I knew I would use these again and again in different ways. Soooooo . . . I made my own using Amazing Mold Putty and Amazing Casting Resin and added some Alumilite Dye and Alumilite Metallic Powder to complete the look.

These were the original metal charms:


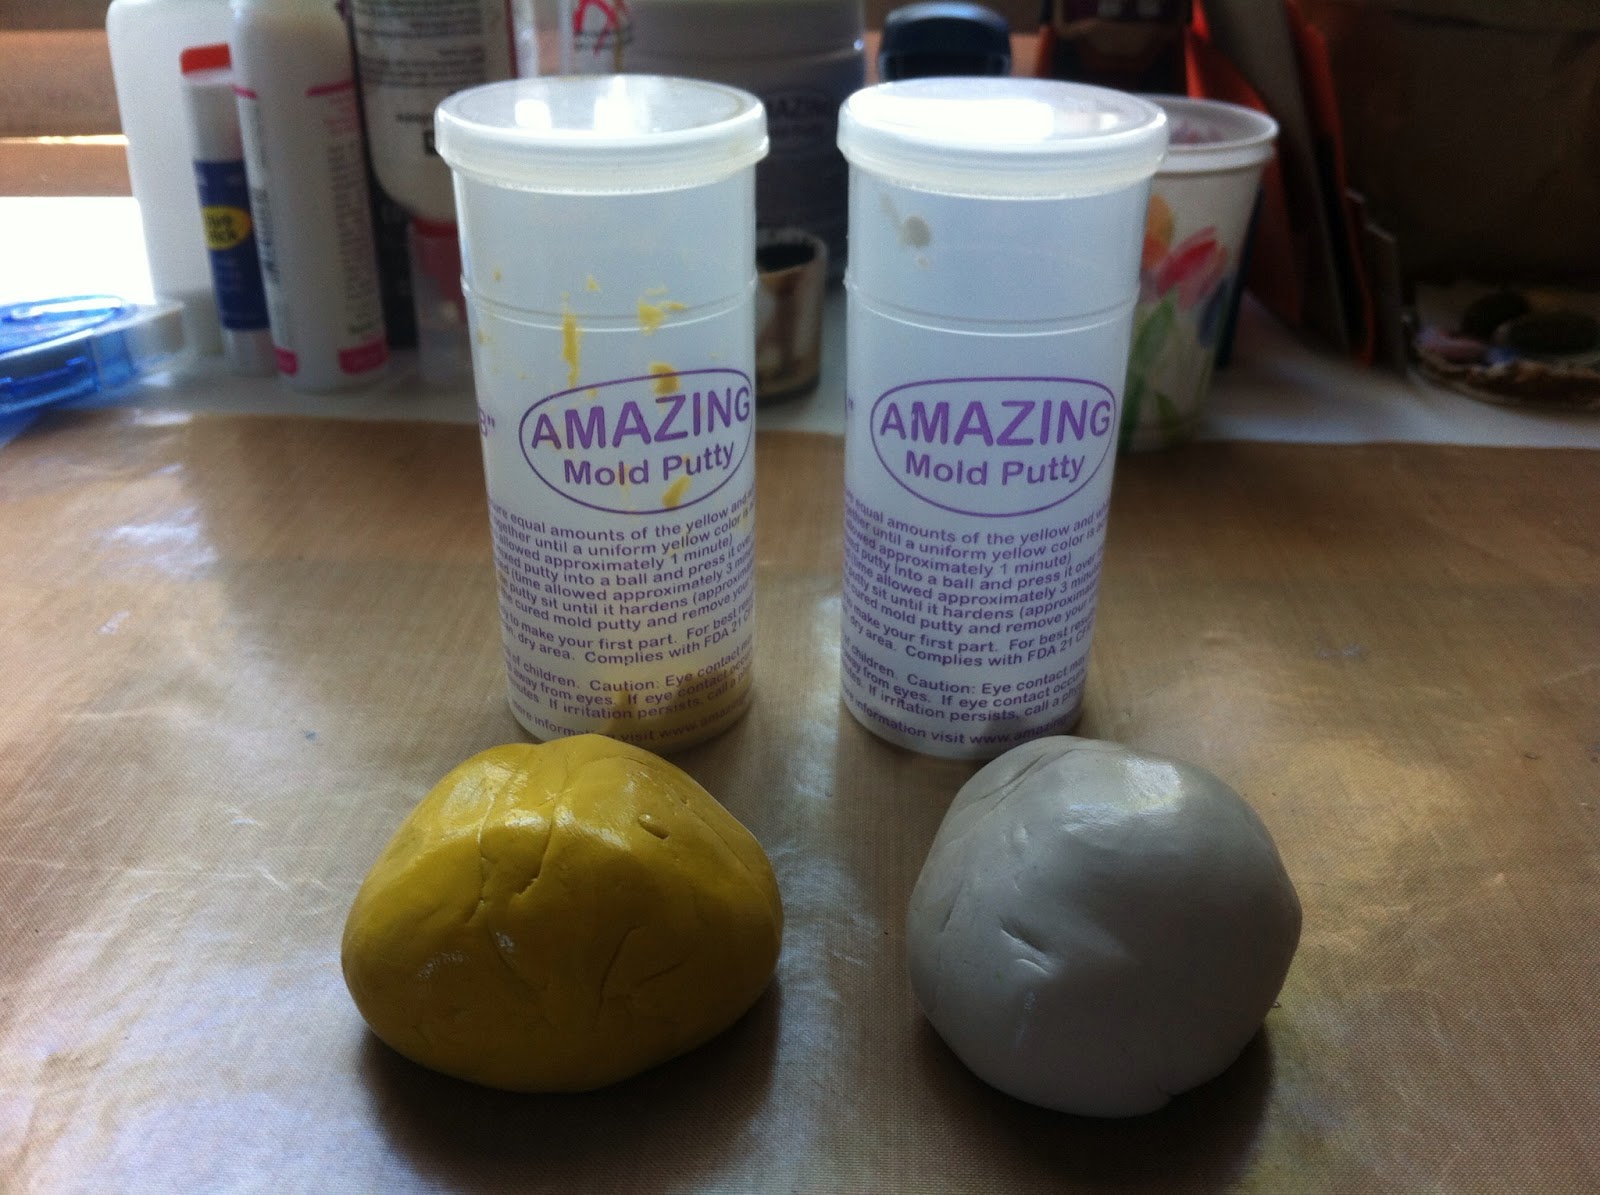
Next I mixed my Amazing Mold Putty mixing a 1:1 ratio of "A" and "B" (click on the link at the end of this post to go to their website for a tutorial).


Then I made a mold of my charms and brushed the inside with  metallic powder (link above). As I said in my last post, this stuff goes a long way - you really don't have to use much  at all to cover the entire surface of what you are molding.


After trying the dyes on my last project and liking the way it looked, I mixed a couple of drops (and I mean just drops) of the African American dye and then added a little of the metallic powder to side "A" before mixing the resin on a second set and this is what it looked like in the mold:


This is what each set looked like fresh out of the mold with nothing added on the surface.  As you can see, if you didn't want to play with them you could absolutely leave them as-is and have a great look.  Or you could take it a step further like I did and  paint, daub, brush and rub to get them the way I wanted. That's what I did with the top set.  The bottom set I left alone except to rub just a bit of the metallic powder on the raised areas to highlight it just a bit.


After playing with these products, I have found that I love the dyes and powders almost as well as the putty and the resin (not quite because I love, love, love the putty and resin). 

One tip I have for making charms or anything with a bail on it, is to pull it out of the mold before it is rock hard and use a paper piercing tool to open the bail and then put a toothpick or skewer in the hole to hold it open while it dries.  If you try to re-open the hold once the piece hardens, you will break it.  Doing this before it hardens and having it ready to go can save the major meltdown that might happen if you break it later (this would be me waiting until the last minute to make a gift and then the piece breaks when I don't have time to start over - lol).  Below is an example:


Here is one last look at my finished project:


Thanks for joining me - Make sure to leave a comment and let me know what you think!  Also, don't forget to check out the Amazing Mold Putty website for these and more Amazing products.

~ Make Today Count

Wendy
www.scrappinwendysway.blogspot.com

Wednesday, November 28, 2012

Team Jacob or Team Edward? Amazing Mold Putty DT Post

I enjoyed the books and tolerated the movies (but because I enjoyed the books I bought the movies - lol).  Anywhooo, I decided to make a Twilight mini album for a teenage friend for Christmas.  One of the things I needed was a big chunky Team Jacob embellishment.  So I decided to make both! 

So here's what I love about this project, not only did I get to use the Amazing Mold Putty and Amazing Casting Resin I use on all of my projects, but I also tried out the Alumilite Metallic Powders and the Alumilite Dyes.  And then to finish it off I used my Amazing Clear Cast for the first time ever (and love it!).

So, of course, I started with the Amazing Mold Putty mixing a 1:1 ratio of "A" and "B" (click on the link at the end of this post and go to their website for a tutorial).

This was the item I chose to mold.

After I made my mold, my experimenting began . . . I decided to try the metallic powder (link above).  I brushed the inside of my mold liberally with the powder on a paintbrush (and when I say "liberally" I mean I brushed the inside of the container - I didn't even have to dip the brush into the powder . . . this stuff goes a loooong way)


Next I poured the Amazing Casting Resin (link above) and waited for it to set.

Once the resin had turned completely white, I removed it from the mold and  . . . VOILA!  My piece came out with a metallic finish hard set in . . .no worrying about the color coming off or what product to use on the surface, etc. 

The next one I did I decided to go a little more crazy.  I mixed a couple of drops (and I mean just drops) of the African American dye and then added a little of the metallic powder to side "A" before mixing the resin.  This is what it looked like:


I love that the piece has a solid color and I don't have to doctor the back at all.  Once I get the desired look on the front, the back still has that brown and slightly metallic look and I can just leave it alone. 

Now when I say "desired look" you know I didn't just leave these pieces the way they were . . . nooooooo, I had to paint, daub, brush and rub to get them the way I wanted them.  You can see that I brushed them with black paint and then wiped it off so the black stayed in the low, indented or debossed areas.  Then on one of them I used some antique gold rub to finish it off. 

Once I had the frame portion complete, I glued in some pictures and THEN . . . I tried out the Amazing Clear Cast (link above) to seal the picture and create a glass look.  And look how "Amazing" it really is.


So here is another look at my finished project:

What do you think?  Don't forget to check out the Amazing Mold Putty website for these and more Amazing products.

 ~ Make Today Count
Wendy

Sunday, October 14, 2012

Skull Embellishment for Tag Mini Album ~ Amazing Mold Putty DT Post

I was trying to find an embellishment for a Halloween mini tag album I was making for a class at my local scrapbook store and was having no luck at all. I could find stickers (ugh, no please) and skulls that were too large to use for an album, and then it struck me . . . I can make my own! With Amazing Mold Putty, you are not limited to what you can find in a store to use in your scrapbooking, you can totally create an embellishment the exact size you need.


For this skull embellishment, I started with a rather large (and bulbous) skull head from my local craft store. As you can see from the picture, it way too large to use as an embellishment on a scrapbook.


So I just made a mold of the face portion - start by mixing your Amazing Mold Putty (equal parts A and B) and kneading it like play-doh until it is a solid medium yellow color.


Apply your putty to the item you want to mold (my skull face) . . .

Allow the putty to set (if this is your first time using Amazing Mold Putty, please refer to their website for detailed instructions) - click here.
Next, You will mix your Casting Resin (use the link above for detailed instructions) - equal parts A and B. As soon as parts A and B are thoroughly mixed you can begin pouring into your mold (I'm still playing with the other project you see so ignore that one -lol). It will turn an opaque milky white when it is completely hardened (unless you are using the clear resin of course).
Once the resin is completely hardened, pop it out of the mold.

Voila! I now have a flat backed embellishment that can go in a tag or any mini album and won't create too much bulk. Don't you love that you can create something so totally different from what you started with using Amazing Mold Putty and Amazing Casting Resin? I know I do.

Add a little paint and who would ever know you created this little gem yourself?


So have some fun and create something new and unusual for your next scrapbook! Make sure to check out the Amazing Mold Putty website to sample (or replenish) these Amazing products. Visit their blog for more Amazing projects.

Thanks for stopping in to check out my project.

~ Make Today Count

Wendy