Showing posts with label cowboy. Show all posts

Tuesday, March 26, 2013

Snap,Crackle, Pop! ~ Robin's Nest DT Post

For my last Robin's Nest project, I used the pink crackle paper (link below), but I decided to go a different direction this time.  I also mentioned in that post that you could use the crackle paper for a barbed wire look; so . . . that's just what I did!


In this project I used these Robin's Nest products:
 
 
I had some left-over pictures from our Deadwood trip and decided I wanted to make a mini album for my son (since most of the pictures are him lol).  I decided to make a one paper mini which you can create from one piece of 12x12 paper, scored, cut and then folded.   There are tons of tutorials with videos if you search it on youtube.  In fact, I believe Terri Sproul did one with Robin's Nest paper (click here to see it)!  I used the Blue Crackle Cardstock (link above) as my base.


You can see that it's cut into a "W" formation before being folded. 


I used pieces of the Cowboy Tag Kit (link above) to embellish my mini and scraps of the Calamity Jane Roses Cardstock (link above) which is a nice two-sided, heavy cardstock.  I especially like how the silhouette sticker looks on the binding.
 
 
The crackle finish, in this case, looks like barbed wire.  The next pictures shows it more closely (um love, love, love the glitter).
 
 
Here are a few more pictures.


Thanks for stopping by to visit and to view my project!  Don't forget to leave me a comment and let me know how you like it.  Make sure stop over at the Robin's Nest Website to check out these products and so many more.
 
~ Make Today Count
Wendy
 

Friday, November 30, 2012

My Little Cowboy ~ AMP DT Project

Our road trip this summer took us to South Dakota where we visited Deadwood.  That was July and I am still finishing up our journal/scrapbook of that trip. This is one of the pages I wanted to make some charms to go on the page but the only ones I had were silver, plus, with all the cowboy pictures I have of my son, I knew I would use these again and again in different ways. Soooooo . . . I made my own using Amazing Mold Putty and Amazing Casting Resin and added some Alumilite Dye and Alumilite Metallic Powder to complete the look.

These were the original metal charms:


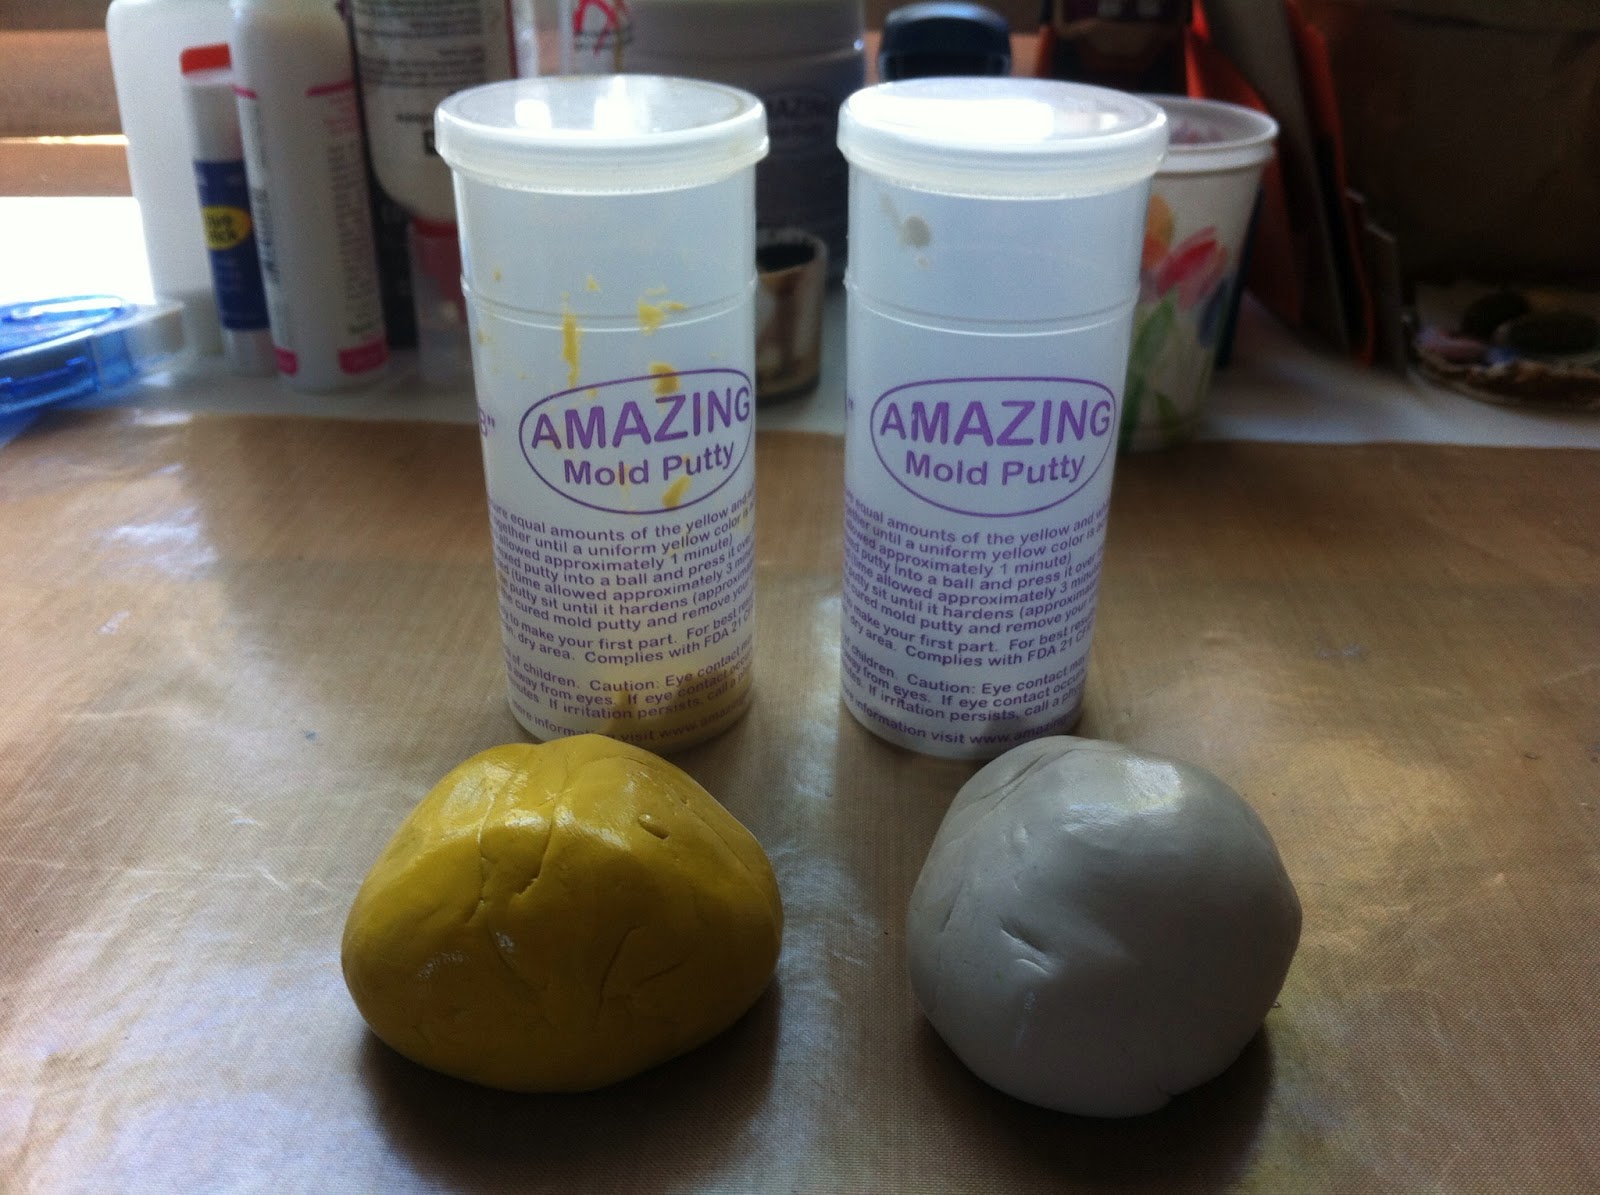
Next I mixed my Amazing Mold Putty mixing a 1:1 ratio of "A" and "B" (click on the link at the end of this post to go to their website for a tutorial).


Then I made a mold of my charms and brushed the inside with  metallic powder (link above). As I said in my last post, this stuff goes a long way - you really don't have to use much  at all to cover the entire surface of what you are molding.


After trying the dyes on my last project and liking the way it looked, I mixed a couple of drops (and I mean just drops) of the African American dye and then added a little of the metallic powder to side "A" before mixing the resin on a second set and this is what it looked like in the mold:


This is what each set looked like fresh out of the mold with nothing added on the surface.  As you can see, if you didn't want to play with them you could absolutely leave them as-is and have a great look.  Or you could take it a step further like I did and  paint, daub, brush and rub to get them the way I wanted. That's what I did with the top set.  The bottom set I left alone except to rub just a bit of the metallic powder on the raised areas to highlight it just a bit.


After playing with these products, I have found that I love the dyes and powders almost as well as the putty and the resin (not quite because I love, love, love the putty and resin). 

One tip I have for making charms or anything with a bail on it, is to pull it out of the mold before it is rock hard and use a paper piercing tool to open the bail and then put a toothpick or skewer in the hole to hold it open while it dries.  If you try to re-open the hold once the piece hardens, you will break it.  Doing this before it hardens and having it ready to go can save the major meltdown that might happen if you break it later (this would be me waiting until the last minute to make a gift and then the piece breaks when I don't have time to start over - lol).  Below is an example:


Here is one last look at my finished project:


Thanks for joining me - Make sure to leave a comment and let me know what you think!  Also, don't forget to check out the Amazing Mold Putty website for these and more Amazing products.

~ Make Today Count

Wendy
www.scrappinwendysway.blogspot.com

Saturday, October 20, 2012

Cowboy Up Mini Album ~ Robin's Nest DT Project


I created this mini album as an insert to my travel journal from our summer road trip to South Dakota (Deadwood). We had so many pictures from this little photo shoot, I couldn't decide on just one or two. By creating a mini album insert, I was able to use 10 pictures! Here's what I did:

I started with my stash of Robin's Nest Papers and chose the double-sided Cowboy Cardstock (you really need double-sided paper for this to come out finished looking) and double-sided Calamity Jane Roses Cardstock. I don't think I could have found more perfect paper for these pictures if I was to try and create it myself. I love, love, love the cowboy paper and the roses with a touch of glitter is fabulous. The colors are perfect muted tones that really capture the feel of the old west. I also used the Cowboy Stickers which were the perfect finishing touch.

I started with my two sheets of paper and cut the Cowboy Cardstock (link above) to 7"x 12". I scored it 1", 6" and 11" on the long side (this will be the cover). I cut the Calamity Jane Roses Cardstock (link above) to 7" x 9.5" and scored it in the center. I used the 5" strip that was left to cut a piece 4.75" x & 7" I then used the left over scrap of the CJ Roses Cardstock for an extra fold-out piece. Here are the cut pieces:

The next step was to attach the CJ Rose 7" x 9.5" piece to the flap (created by scoring at 1") on the left side of the cover with the fold facing in. This creates a double fold-out and should look like the picture below when open.
The next step is to add the 4.75" x 7" piece of CJ Roses Cardstock to the flap on the right side (flap created by scoring cover at 11"). Now it should look like this with the double fold-out on the left and a single fold-out on the right:

When the double fold-out is opened it should look like this:


The last step to the construction portion of the album is to add the small scrap to the single fold-out on the right side. When both fold-outs are open it should look like this:

This is a top view of the whole album:


The next step is to add your pictures and embellishments which, of course, is the fun part! This paper was so perfect, I didn't have to add much to get that old west feel I was looking for. . . it just sort of came together. Here are some pictures of the finished album:


Thanks for looking at my Cowboy Up Mini Album. Be sure to saddle up and mosey over to the Robin's Nest website to check out the whole line of western paper and embellishments. Check out the Robin's Nest blog to see more fabulous creations from the Robin's Nest Design Team.

~ Make Today Count
Wendy


Monday, September 10, 2012

My South Dakota Cowboy - Deadwood Photos

Okay, decisions, decisions, decisions . . .

I am having a picture of my younger son transferred to canvas (we did one with my older son when he was little) and I am having a heck of a time deciding which one . . . We took these pictures in Deadwood during our summer roadtrip.


Isn't he stinkin' cute?!?

~Make Today Count
Wendy