Sunday, March 31, 2013

Summertime Place Setting ~ Amazing Mold Putty DT Project

Hi all! For my project this month I decided to concentrate on summertime table settings. With spring in the air and my husband readying the back yard pond and fountains and patio for guests, I wanted to create some fun new napkin rings. So out came my Amazing Mold Putty and Amazing Casting Resin (links below).


To start, I had to search for something to use as a base. I chose the cardboard center of a (or spool) of a roll of ribbon. Then, to give it some texture and depth I used my glue gun to add some stings of glue all over it.


Next I mixed my Amazing Mold Putty part "A" and part "B" in equal parts (see website via the link for detailed instructions).
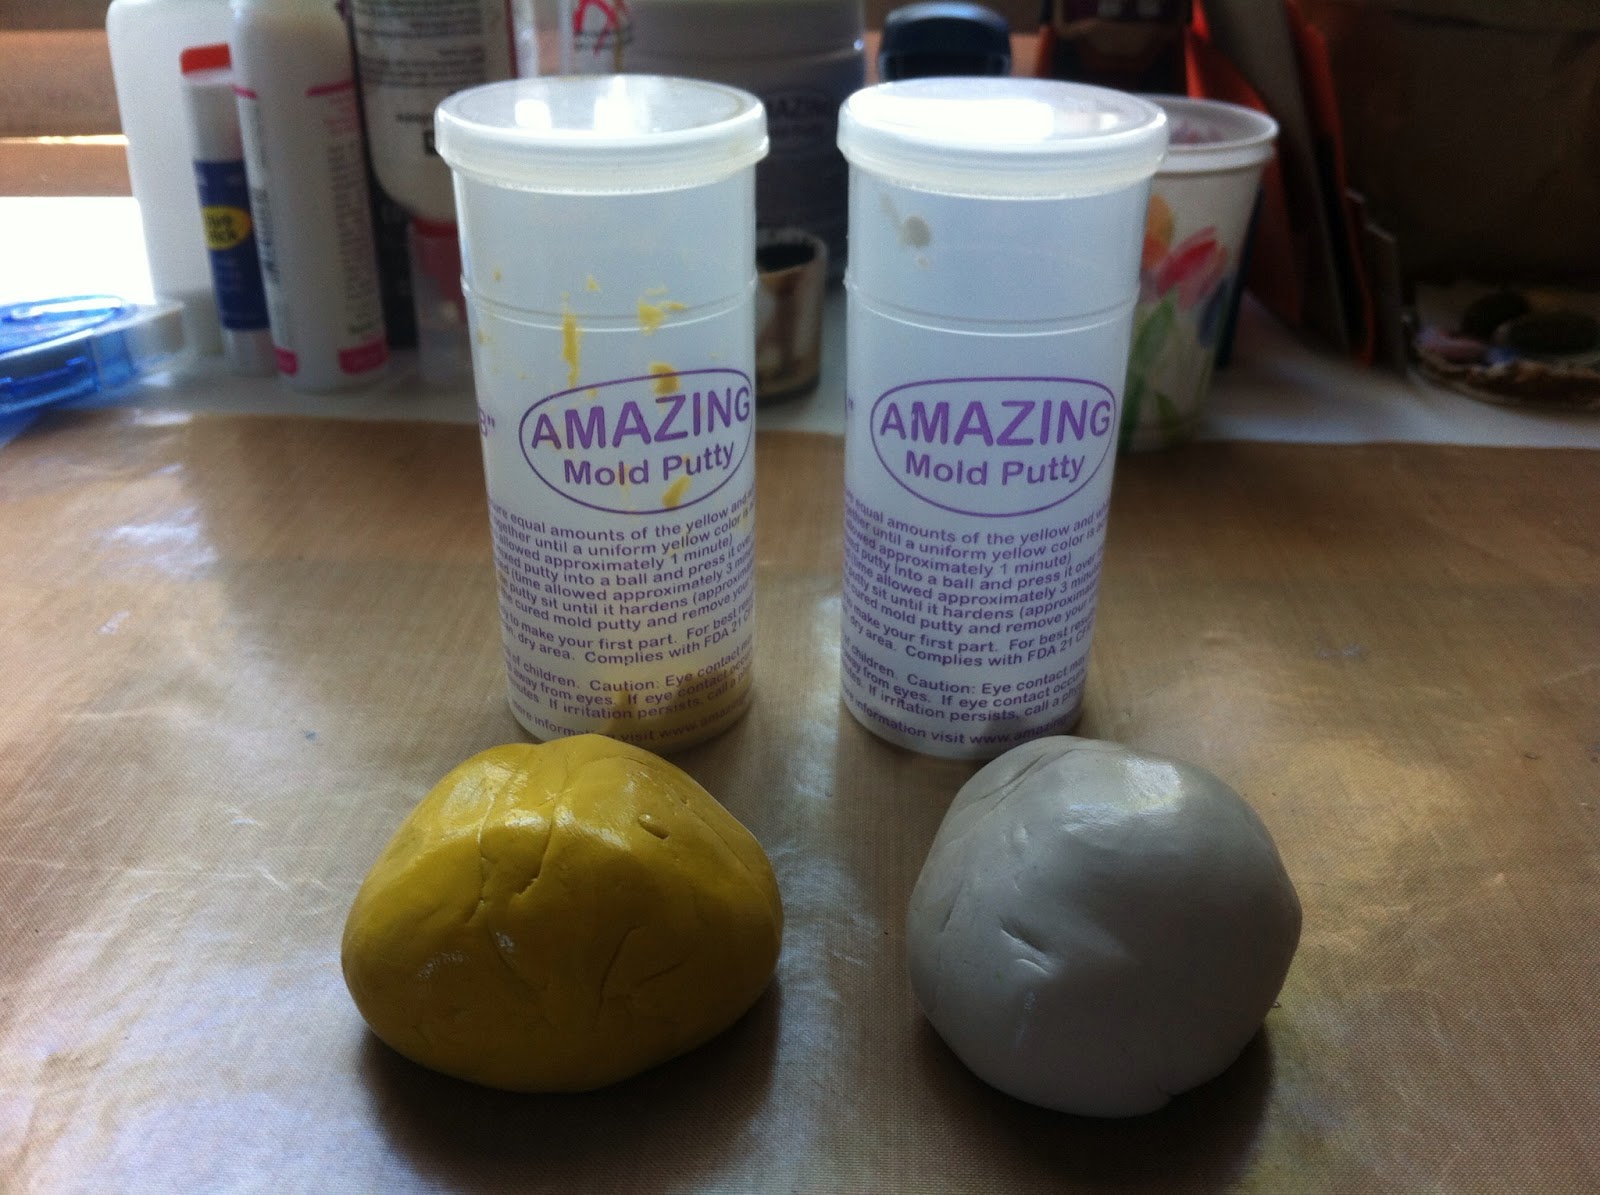
Next, I made molds of this and some other items to use on my napkin ring.


Once my putty was set (about 10 minutes - or when you can scrape the side with your fingernail and it doesn't come off). The detail I was able to get in my mold was really quite amazing. With all of the mold I've created, I still wasn't sure this would work, but just look at the next picture to see how detailed you can actually get with your putty.
Is this cool or what!?
Next I used my Amazing Casting Resin to mold my pieces.
Now, I'm not gonna lie, the ring itself took a little work to get out, but it was totally worth it. Once I popped the pieces out I glued them together and then painted them solid black.


I went over the black with a blue green color, then a seafoam green. I finished it off with some antique gold rub.


What do you think? I love how this looks like some high end metal napkin ring that I might have bought in downtown Laguna Beach; but really I made it lickety split in my craft room. Now I just need to make 7 more! Thanks for stopping by and checking out my project. Please leave me a comment and let me know what you think. Don't forget to hop over to the Amazing Mold Putty website and check out their truly Amazing products!
~ Make Today Count
Wendy

Tuesday, March 26, 2013

Snap,Crackle, Pop! ~ Robin's Nest DT Post

For my last Robin's Nest project, I used the pink crackle paper (link below), but I decided to go a different direction this time.  I also mentioned in that post that you could use the crackle paper for a barbed wire look; so . . . that's just what I did!


In this project I used these Robin's Nest products:
 
 
I had some left-over pictures from our Deadwood trip and decided I wanted to make a mini album for my son (since most of the pictures are him lol).  I decided to make a one paper mini which you can create from one piece of 12x12 paper, scored, cut and then folded.   There are tons of tutorials with videos if you search it on youtube.  In fact, I believe Terri Sproul did one with Robin's Nest paper (click here to see it)!  I used the Blue Crackle Cardstock (link above) as my base.


You can see that it's cut into a "W" formation before being folded. 


I used pieces of the Cowboy Tag Kit (link above) to embellish my mini and scraps of the Calamity Jane Roses Cardstock (link above) which is a nice two-sided, heavy cardstock.  I especially like how the silhouette sticker looks on the binding.
 
 
The crackle finish, in this case, looks like barbed wire.  The next pictures shows it more closely (um love, love, love the glitter).
 
 
Here are a few more pictures.


Thanks for stopping by to visit and to view my project!  Don't forget to leave me a comment and let me know how you like it.  Make sure stop over at the Robin's Nest Website to check out these products and so many more.
 
~ Make Today Count
Wendy
 

Wednesday, March 6, 2013

A Couple More Pages of My Twilight Mini Album

Okay, with all of the sickness in my house the last two months, I have posted nothing except my design team posts (and was lucky to get those up!).  So here are a couple more pages of the Twilight Mini I started posting last month . . .

This was the cover I already posted


 Here are a few more pages . . . my friend is definitely a Jacob fan - lol!


This is a paper bag album made from Kathy Orta's youtube tutorial so it has lots of pages that flip up and a ton of pockets!  Because there is so much space (or real estate as Kathy calls it) there was plenty of room to include quotes from the books and movies.  Thanks for stopping by!

~ Make Today Count
Wendy

Friday, March 1, 2013

Amazing Mold Putty Blog Hop!


Thanks for joining us on the Amazing Mold Putty blog hop.  Stop at every blog on the list below and leave a comment on each one and you could win a prize!  The theme is COLOR.  If you know my work you know I usually use muted and grungy colors, so I tried to go a bit out of my comfort zone on this one.  I created a Hello Kitty pen/pencil case to go with a journal I'm making for a friend's birthday.  I had to get really creative with this one because I didn't have anything 3D Hello Kitty to use to create my mold. Sooooo, I used a two dimensional sticker like the one held in the clothes pin on the box.  I had to carefully press the paper sticker into my putty using uniform pressure all over until it was deep enough to make an impression.  Okay, I said two dimensional, but the sticker did have a bow and whiskers that were 3D, but still paper. Here's the way it came out:

 
I thought this was a pretty cool trick.  Now I have so many more things I can mold . . . not just 3D objects!  I then painted the medallion I created and adhered it to my pen/pencil box.  I hope you enjoy my project!
 
 
 Make sure to leave a comment and hop through every blog on the list.  If you didn't start at the Amazing Mold Putty blog go down two the link list below and start at the beginning to make sure you hit each blog.  Happy Hopping and good luck!
 
~  Make Today Count
Wendy
 
-->

Thursday, February 28, 2013

Making Multiples from Molds ~ AMP DT Post


Okay, so I know it is totally not Christmas anymore, but this post is one I didn't get to do at Christmas time so I'm doing it now! 

Ever need to make multiples of an item you have . . . like 40 of them for a third grade class project?  Well I did.  As one of the room moms in my son's class, I came up with this ornament for the class to make and take home for parent Christmas gifts (the one above is the one my 3rd grader made).  Most of it was paper and cotton.  But can I make it easy on myself and make a paper belt buckle?  Nooooooo . . . of course not!  So, here's what I did.  I started with making two single molds.  I then made two "rounds" of belt buckles and then made a long brick from my Amazing Mold Putty, pressing all four of those buckles into the putty to create a "multiple mold."  I was then set to make six buckles at a time.  While 10 minute quick set Amazing Casting Resin is super fast (compared with others which can take 24 hours or more to set-up), can you imagine how long it would have taken to make 40 of these one at a time?!?  I, for one, just don't have that sort of time.  So this was a perfect solution to my problem. 

To start, I mixed my Amazing Mold Putty using a 1:1 ratio of "A" and "B" (click on the link at the end of this post to go to their website for a tutorial).


Next, I pressed my metal buckle into the single small brick of putty I created.  I then mixed my Amazing Casting Resin (use the link above for detailed instructions) - equal parts A and B. As soon as parts A and B are thoroughly mixed you can begin pouring into your mold (It will turn an opaque milky white when it is completely hardened unless you are using clear).  Once it hardened (about ten minutes), I then repeated this process a second time to get my second single buckle mold.  Once I had two buckles, I repeated this process another time making two at a time this round.  Once I had four buckles, I then make a much larger (longer) mold putty brick and pressed all four of them into that brick to make it a "multiples mold."  Take a look at my molds below.


Then I began making my 40 belt buckles.  Since I certainly didn't want to mess around with trying to paint or color each of these belts in some way after they were made, I simply grabbed my Alumilite Metallic Powder in silver and quickly and easily brushed it into the mold before I poured my resin.  The belts popped out already colored as you see in the ornament picture above (a close-up picture is below).
 
What do you think?  I think they came out perfect!  Amazing Mold Putty is so easy to use that I now make multiple molds even if I am just making a few of something because I am so impatient.   I know when I am finished I can put the molds away for another use or I can pass one of the singles on to a friend  . . . the gift that keeps on giving.  What do you need to make in multiples?  I know I say it every post, but I maintain . . . the possibilities are endless.
 
Thanks for checking out this month's project - Make sure to leave a comment and let me know what you think! Also, don't forget to check out the Amazing Mold Putty website for these and more Amazing products.

~ Make Today Count

Wendy
www.scrappinwendysway.blogspot.com


Tuesday, February 12, 2013

Twilight Mini Album Birthday Gift


Love Bites! Mini Album
Okay, so in hindsight I went a little "My Big Fat Greek Wedding - Wedding Planning Album" all up on this thing, but I was trying to hide a seam and really should have just used ribbon, not lace.  I don't like the lace but it was finished and what could I do? I really think the rest of the album came out cute - I should have made one for me too lol.  Today I'm going to post the first few pictures and will post some more later this week.  I've been home sick and then home with a sick child and am still catching up.  So here's what I have so far . . .


The Jacob brooch I on the front cover is one I made
(see earlier posts for close-up pics and the how-to on it).


The binding has a wolf charm, a silver vampire teeth charm, a crystal charm and some ribbon.


The album is put together using "paper hinges" I created just scoring cardstock.  I like this method because you can choose the space between your pages by how far apart you score it.  That way you can have chunky embellishments without your book turning into a big "V" shaped monstrosity.


The inside front cover has a chain that is meant to look like Bella's
bracelet from Jacob with Edward's diamond heart on it as well.


That's all for today.  Check back later for more pictures of this album.

~ Make Today Count
Wendy