
This was my first try at an altered Altoids Tin, so don't mock it too badly - lol. I really like how it came out!
The tin itself was not difficult and there are a lot of tutorials out there (just google) so I won't go into that other than to say - don't cover it all with paper until you research - I did and mine wouldn't close so I had to make a loop closure for it.
In looking at samples others had created, I noted quite a few with frames on the front. And, since eventually, I would like to make a class out of this (once I get it right), I knew I needed more than one of whatever I chose to use on top! So, I chose some frames that I purchased in a kit a couple of years ago at a warehouse store. I know that I can't possibly find them again, so I had to be able to make more. And . . . in steps my
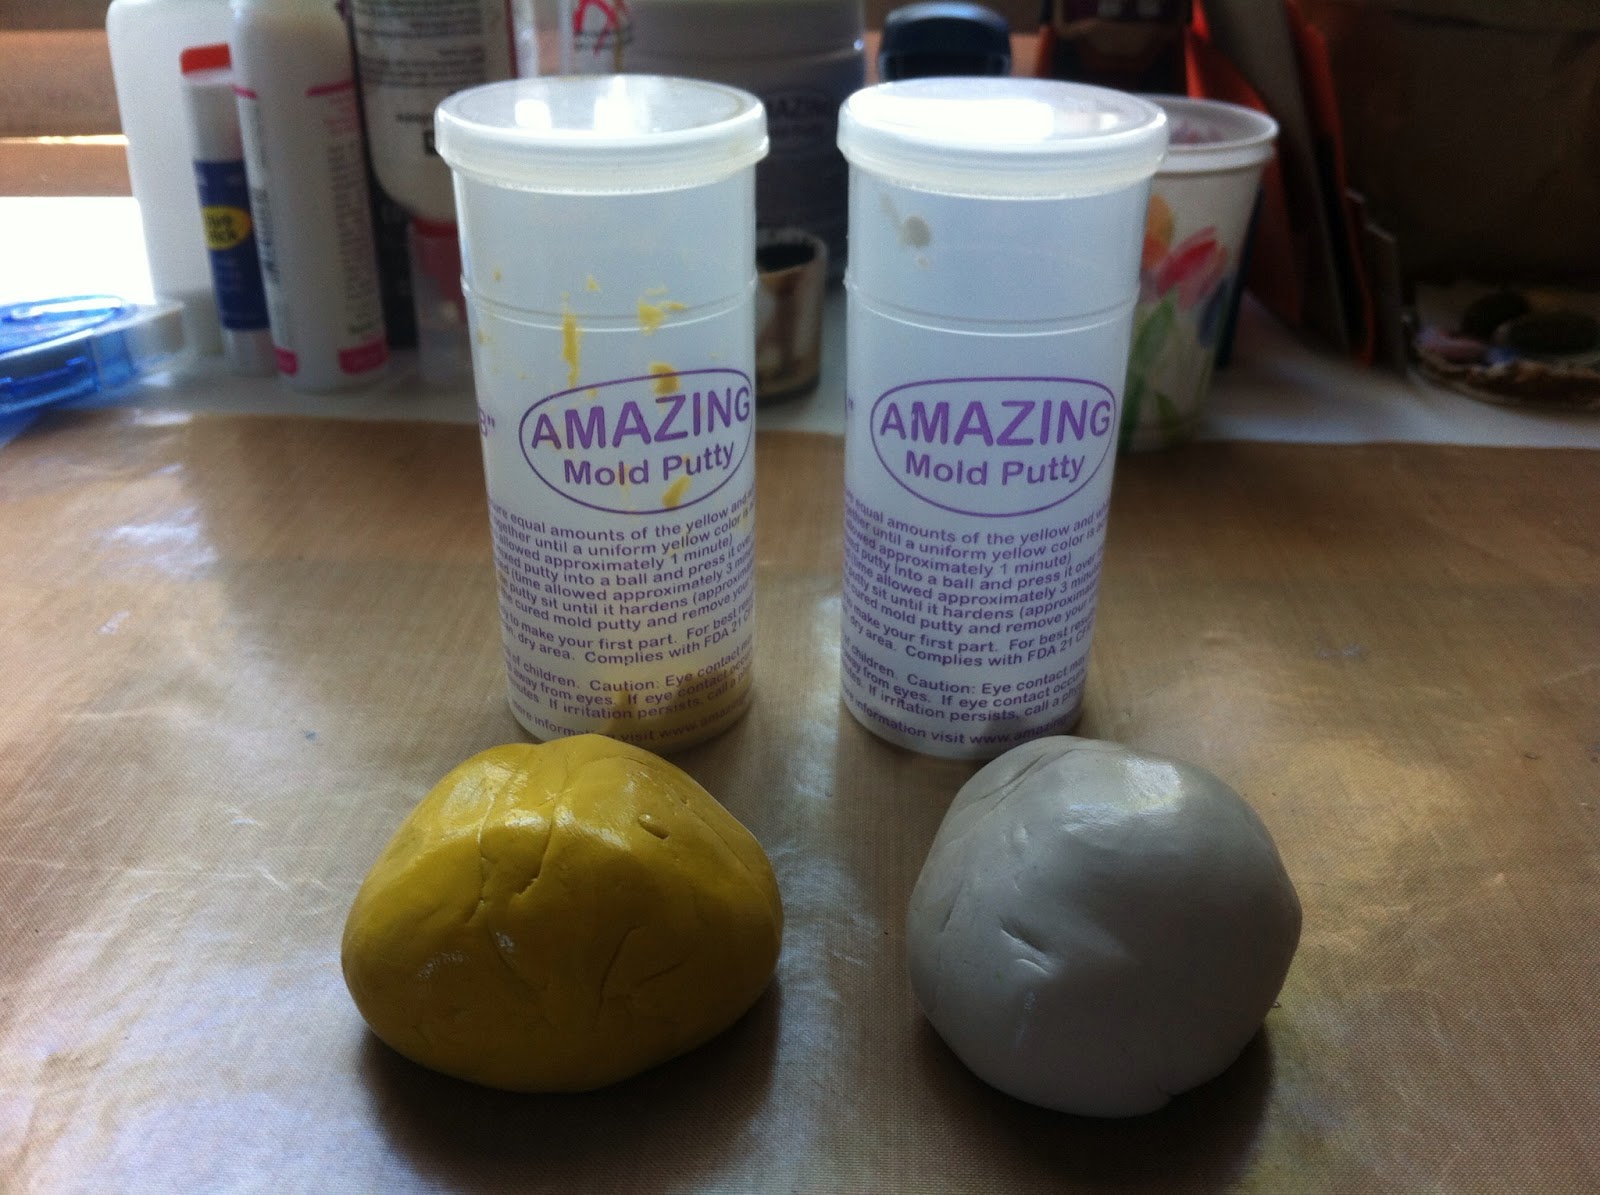
Amazing Mold Putty:
I mixed my
Amazing Mold Putty using a 1:1 ratio of "A" and "B" (click on the link at the end of this post to go to their website for a tutorial).

Next I made a mold of each of my frames and then mixed my
Casting Resin (use the link above for detailed instructions) - equal parts A and B. As soon as parts A and B are thoroughly mixed you can begin pouring into your mold (It will turn an opaque milky white when it is completely hardened unless you are using clear or unless you added some dye to it like I did! I mixed one drop of the African American dye (
Alumilite Dyes ) to side "A" before mixing the resin. Check out my step-by-step pictures below. You can see that the frames have a bit of color even before I play with them.

I chose the very last frame in the bottom right pictures to use for my tin. I then painted it black (I only needed on coat because it was not the white resin). After it dried I rubbed a bit of silver on it and it was ready to adhere to my altered tin. If you look closely, you can see a key I made and showed in an earlier blog post. . . couldn't alter the tin with just one molded item!
.JPG)
.JPG)
.JPG)
I really like the way it turned out. Next time I think I will go back and dry brush a bit of the black back on it to "dirty" it up a bit (like the key). Let me know what you think.

.JPG)

.JPG)
Thanks for checking out my project! The
Amazing Mold Putty and
Casting Resin are so easy to use and as I've said in the past, you really can recreate any embellishment you want to use more than once. Head over to the
Amazing Mold Putty website and check out all of their products. Be sure to comment and ask questions if you have any.
~ Make Today Count
Wendy


.JPG)
.JPG)
.JPG)

.JPG)

.JPG)


