Showing posts with label skeleton. Show all posts

Tuesday, October 1, 2013

Haunted House and Halloween Mini Album Sneak Peek


Okay, this is totally a sneak peek because I am not finished with this yet.  I have a skeleton to go in the balcony of the haunted house and my album is near complete.  What do you think? Leave me a comment and let me know.  I started with a plain paper mache house from Hobby Lobby like this one:


I gave it a few coats of paint (okay, I painstakingly applied layer after layer until I got it just right lol), a balcony made from chipboard scraps, ragged cloth curtains in all windows, a chipboard door with real metal hinges and a door pull, not to mention spider webs and tombstones and voila!  You have a haunted mansion perfect for housing my Halloween Mini Album.  Here are a couple more pictures:
 
Close-up
 
 
The one below shows the inside.  I put "wallpaper" and a hanging picture on the back wall because with a couple of battery operated tea lights you can see through the windows.  I painted the entire inside black before installing the curtains and adding "wallpaper."


Now for a sneak peek at the album . . .wait  . . . for . . . it . . .
 
 
~
 
~
 
~
 
~
 
~


So . . . what do you think?  I totally love it.  Of course I agonized over the cover like I always do, layering things on top trying to figure out if I was going to like it, because the minute you glue it down there's no turning back.  But I really do like how it turned out.  So here's what's piled on . . . 
 
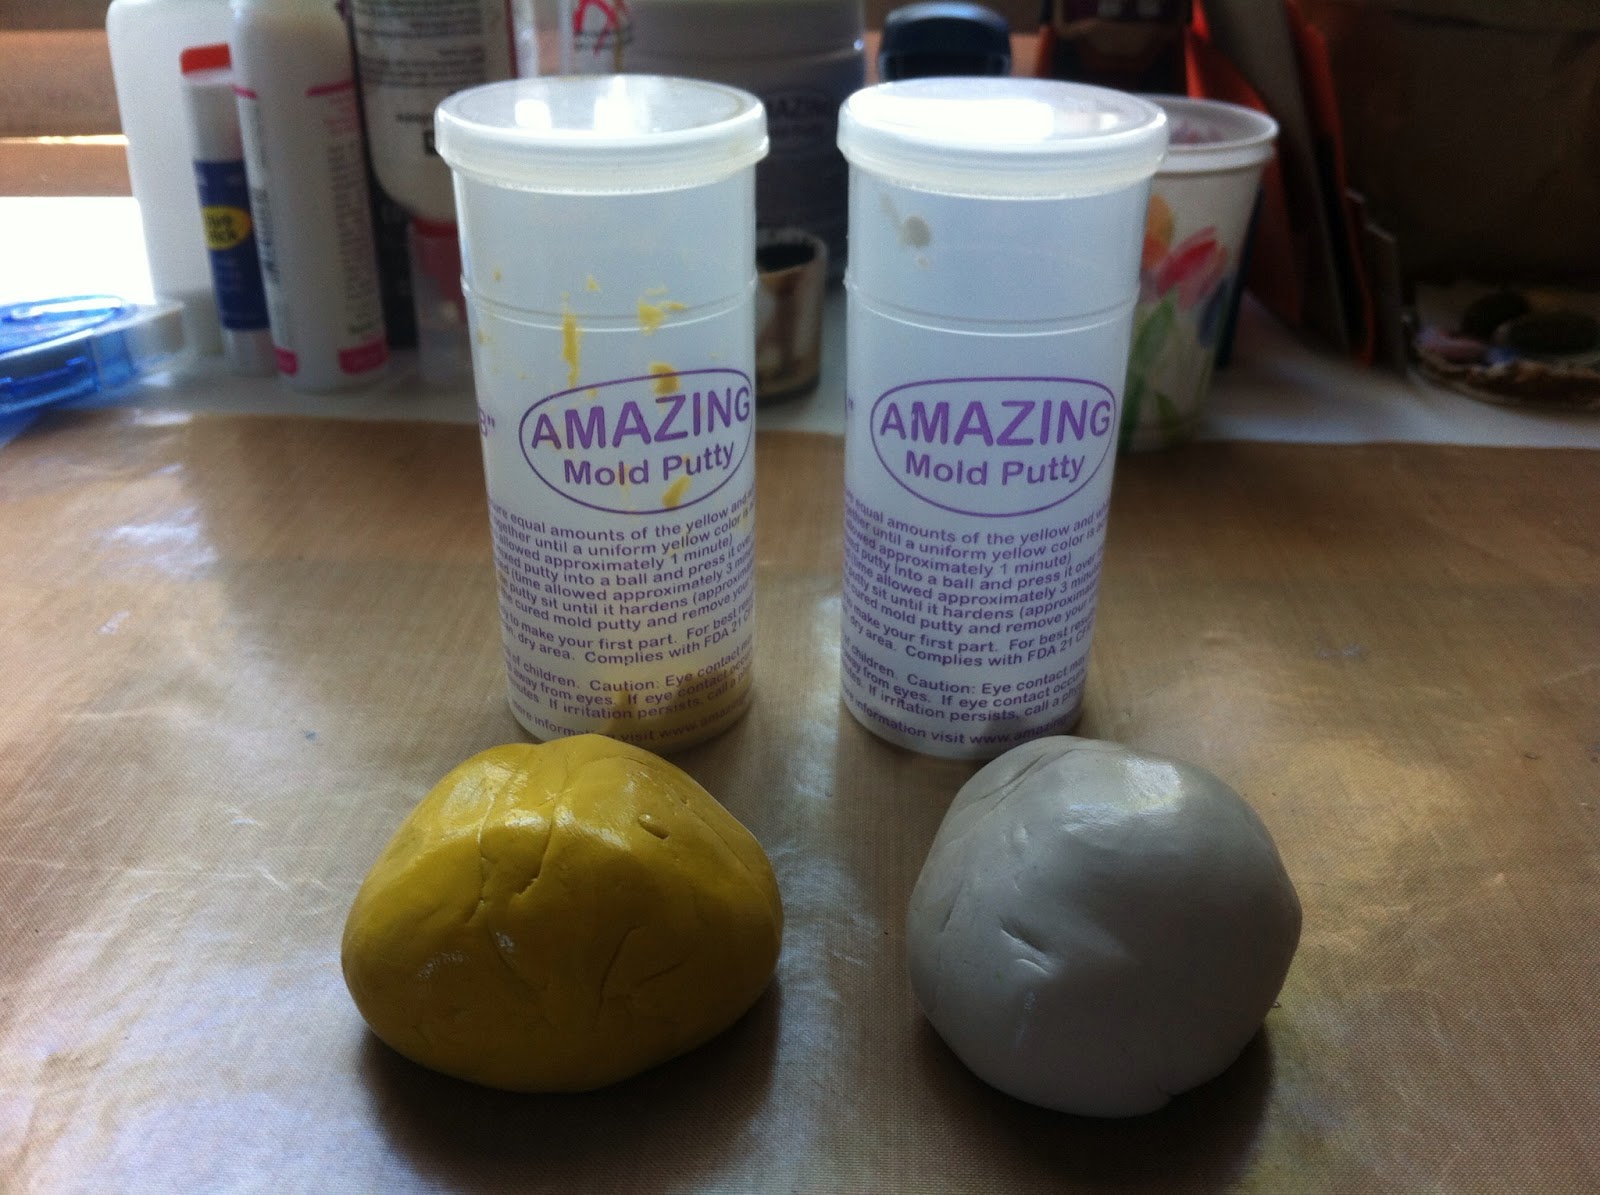
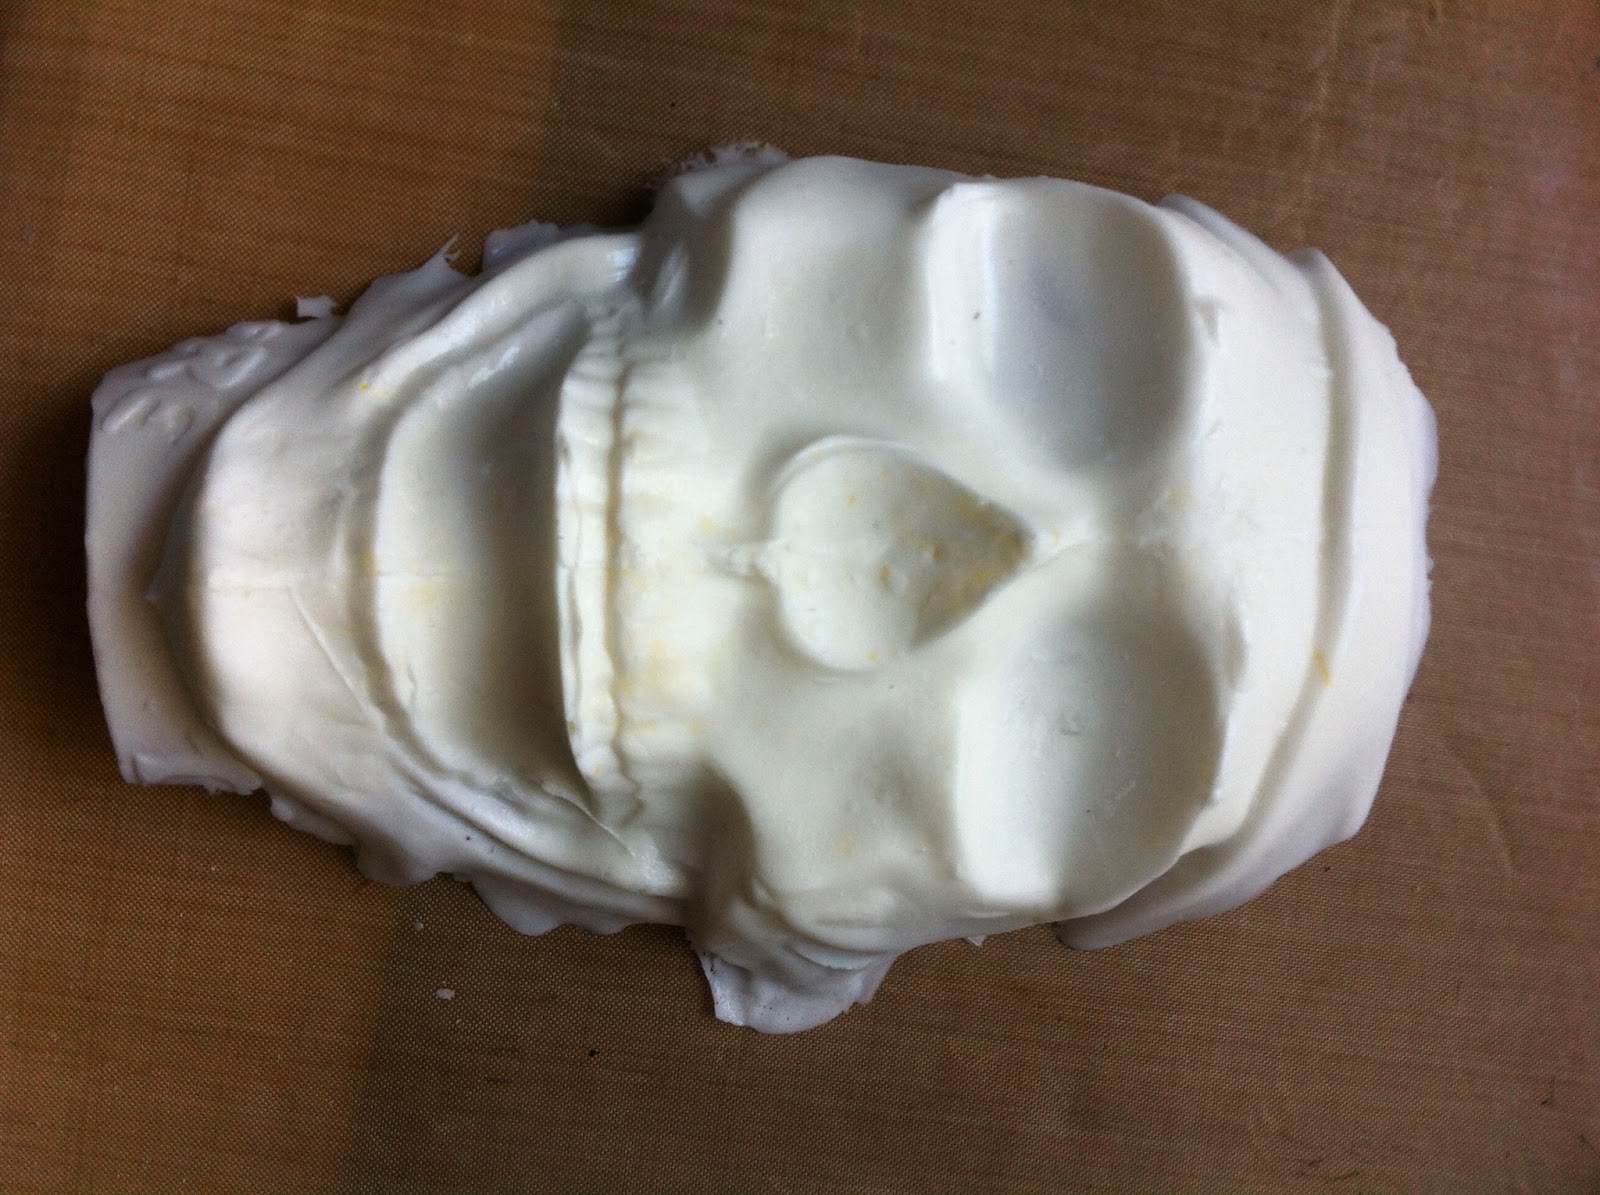
 The two metal corners are die cut from metal tape and dry embossed using my sizzix.  After that I added layers of emboss enamel and paint and then chipped some off to look really worn.  The skeleton hand has been painted and distressed and wiped off again.  I added three layers of lace to look like a vintage sleeve.  I also added a jump ring with a rhinestone to create a ring.  The skeleton is cut from design paper and embossed using an embossing stylus to give it some depth (of course I also adhered it with pop up tape for more height).Under the hand and skeleton is a black rose trim with a bit of black crocheted lace peeking out from just under the edge.  I have added two stick pins I created using various beads from my stash, a teeny tiny glass vial with green "poison" in it (the lid is glued in) a frame I created with Amazing Mold Putty and Resin with a glitter spider from design paper, I Am Roses flowers and skeleton leaves colored with Lindy's Stamp Gang Starburst sprays, some bones and a tiny skull from my stash, a title tag from design paper, and to finish it off, a Tim Holtz door knob. 
 
Whew!  I think that about does it for the cover.  Since I didn't show the spine, I don't have to tell you about that yet lol.  I will be selling this house/album on Etsy or Ebay so when I show the finished product I will give all of these details again for anyone who is interested.  Wait until you see how chunky this album is . . . I think the spine is 5" wide (I need to measure).
 
Well, there's the sneak peek, thanks for stopping by.  Be sure to comment and let me know what you think.
 
~ Make Today Count
 
Wendy
 

Sunday, October 14, 2012

Skull Embellishment for Tag Mini Album ~ Amazing Mold Putty DT Post

I was trying to find an embellishment for a Halloween mini tag album I was making for a class at my local scrapbook store and was having no luck at all. I could find stickers (ugh, no please) and skulls that were too large to use for an album, and then it struck me . . . I can make my own! With Amazing Mold Putty, you are not limited to what you can find in a store to use in your scrapbooking, you can totally create an embellishment the exact size you need.


For this skull embellishment, I started with a rather large (and bulbous) skull head from my local craft store. As you can see from the picture, it way too large to use as an embellishment on a scrapbook.


So I just made a mold of the face portion - start by mixing your Amazing Mold Putty (equal parts A and B) and kneading it like play-doh until it is a solid medium yellow color.


Apply your putty to the item you want to mold (my skull face) . . .

Allow the putty to set (if this is your first time using Amazing Mold Putty, please refer to their website for detailed instructions) - click here.
Next, You will mix your Casting Resin (use the link above for detailed instructions) - equal parts A and B. As soon as parts A and B are thoroughly mixed you can begin pouring into your mold (I'm still playing with the other project you see so ignore that one -lol). It will turn an opaque milky white when it is completely hardened (unless you are using the clear resin of course).
Once the resin is completely hardened, pop it out of the mold.

Voila! I now have a flat backed embellishment that can go in a tag or any mini album and won't create too much bulk. Don't you love that you can create something so totally different from what you started with using Amazing Mold Putty and Amazing Casting Resin? I know I do.

Add a little paint and who would ever know you created this little gem yourself?


So have some fun and create something new and unusual for your next scrapbook! Make sure to check out the Amazing Mold Putty website to sample (or replenish) these Amazing products. Visit their blog for more Amazing projects.

Thanks for stopping in to check out my project.

~ Make Today Count

Wendy


Sunday, September 30, 2012

Just Treats! Halloween Candy Box ~ Amazing Mold Putty DT Post

Okay, I totally had another post all ready for today, but I've decided to keep that one for another day and because today is October 1st, we are going with a spooky Halloween Candy Box that I made today because I just wanted to play with my products and have some fun!

If you are anything like me you are out with your child or children on Halloween and there is no one at home to give out candy. This year instead of just leaving the candy in a dish that says "take one," I created this spooky little beauty to hand out the candy for me.

If you want to make this project you will need a skull shaped item to use as your original, a box, a strip of chipboard, a candle, some craft paints, and most importantly, Amazing Mold Putty and Amazing Casting Resin.


I started by choosing one of my husband's beer stein's that is shaped like a pirate skeleton. I used equal parts of "A" and "B" of the Amazing Mold Putty (link above) and kneaded them together until they were a solid color of medium yellow (no white streaks showing at all). Because I was covering such a large area, I did use two good sized balls of putty (each one was a little larger than a golf ball). I probably didn't need quite as much as I used, but I wanted to be sure my surface was covered well.


Once the putty is well mixed I pressed it onto the stein making sure to press our any air bubbles or your mold will have "pit marks" in it.


Once I spread the putty and held the stein up to the light I could see spots where it was too thin for my liking so I just took some of the excess and used it for "patches."

The mold sets up so quickly that I didn't have to wait long - if you are unsure whether or not your mold is "set-up," gently stick your fingernail into it. If your nail goes in and leaves a visible mark, wait a few more minutes. If it feels rubbery and your nail doesn't go in . . . it's ready!


The first thing I noticed was that there is a seam from the stein through the middle of my mold. In an effort to not have to do so much sanding afterwards, I did mix a tiny bit more putty and smoothed it into that line.

Next, I mixed my Amazing Casting Resin (link above). Since I knew I was going to paint it, I just used the white (plus, it was a spur of the moment project and I wanted it to set quickly). I poured the resin in and just before it was too thick to move around, I used my stir stick to put it up onto the sides a bit so I didn't have to have a super thick "mask."


While the skeleton was setting, I found a small shoe box and painted it black with craft paints. I used a strip of chipboard to make a "bridge" to go inside of the shoe box on which the skull and candle would sit. I painted that as well. By the time I finished this, the skull was ready to come out of the mold.


This is what he looked like fresh out of the mold. I plugged in my trusty dremmel and went to work sanding what was left of the seam lines. Other than that, he was perfect! I added a few different coats of paint (I can never leave well enough alone - lol) and voila . . .!


Next, I glued the skull to the candle and then glued them both onto the "bridge." Now my candy box is ready to leave on the door step on Halloween night.


I can't even tell you how quickly this project came together. With Amazing Crafting Products the process is so fast and simple you really can sit down to "play" and come away with a finished project in as little as a half an hour (okay, with my must add layer upon layer of paint it took me a whole hour). Click on this link to visit the Amazing Crafting Products website and order your putty and resin and get started on those Halloween projects!

Thanks for looking at my scary candy box.

~ Make Today Count

Wendy
You can the AMP blog at http://amazingmoldputty.blogspot.com/